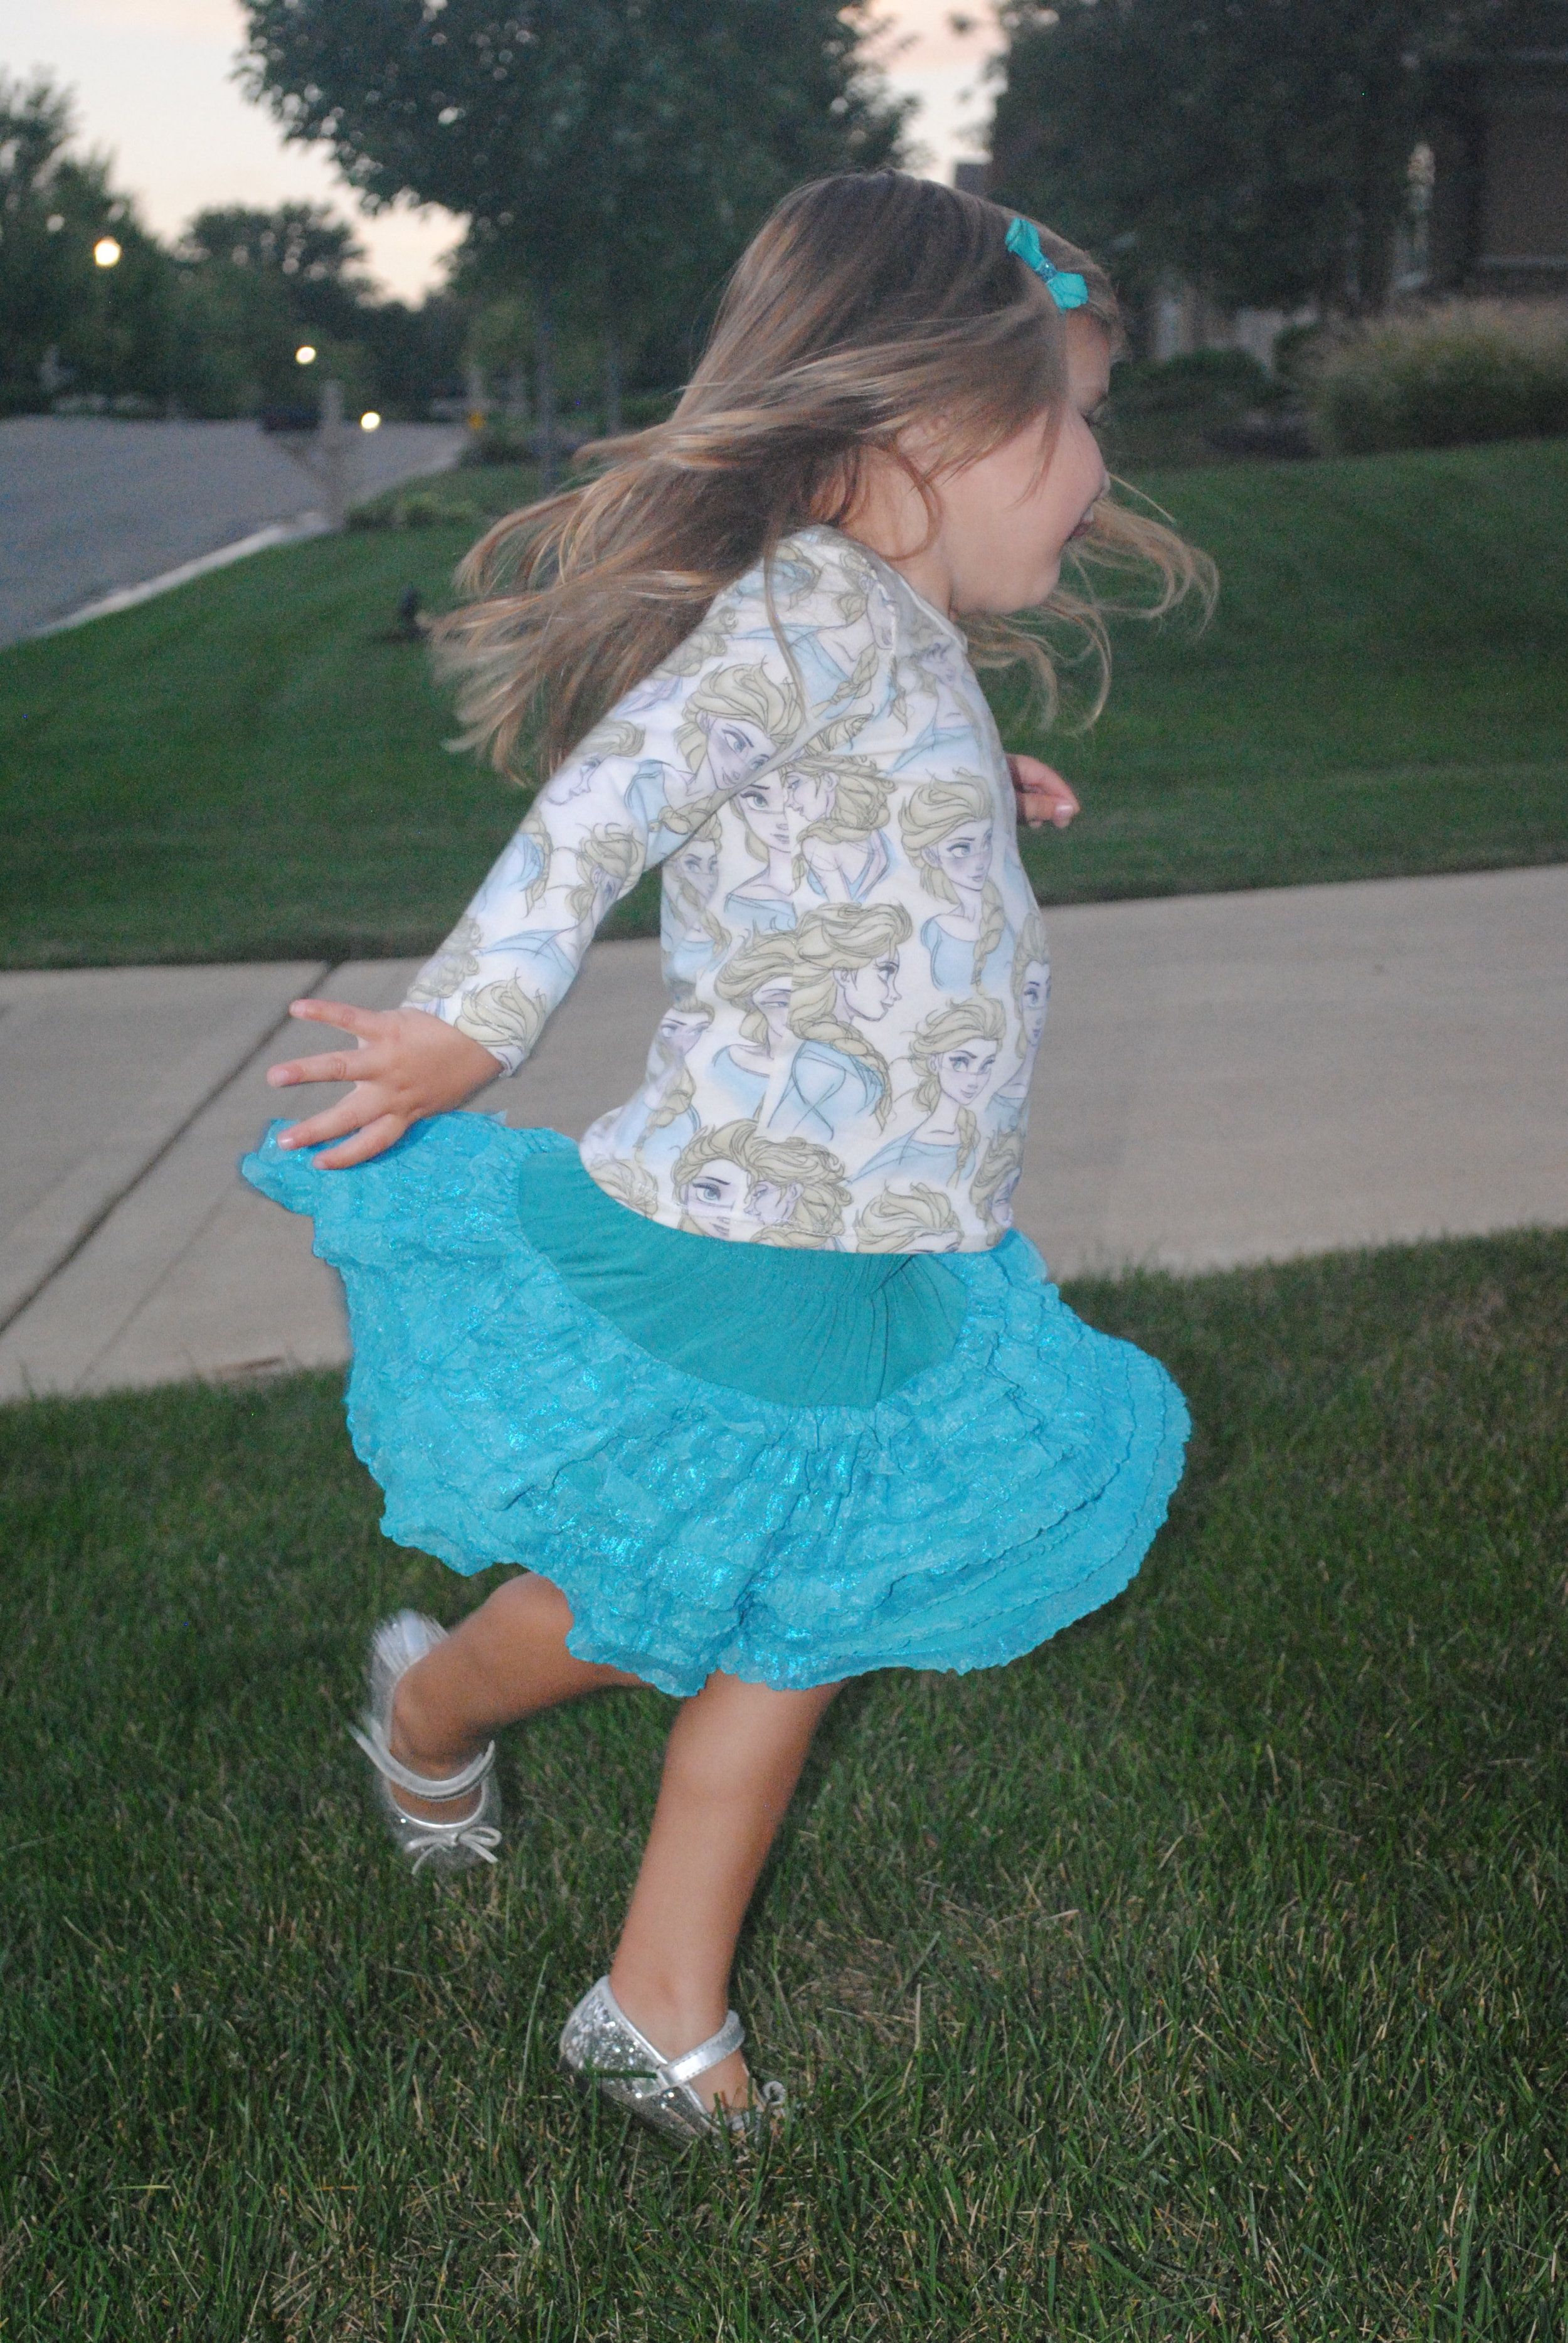
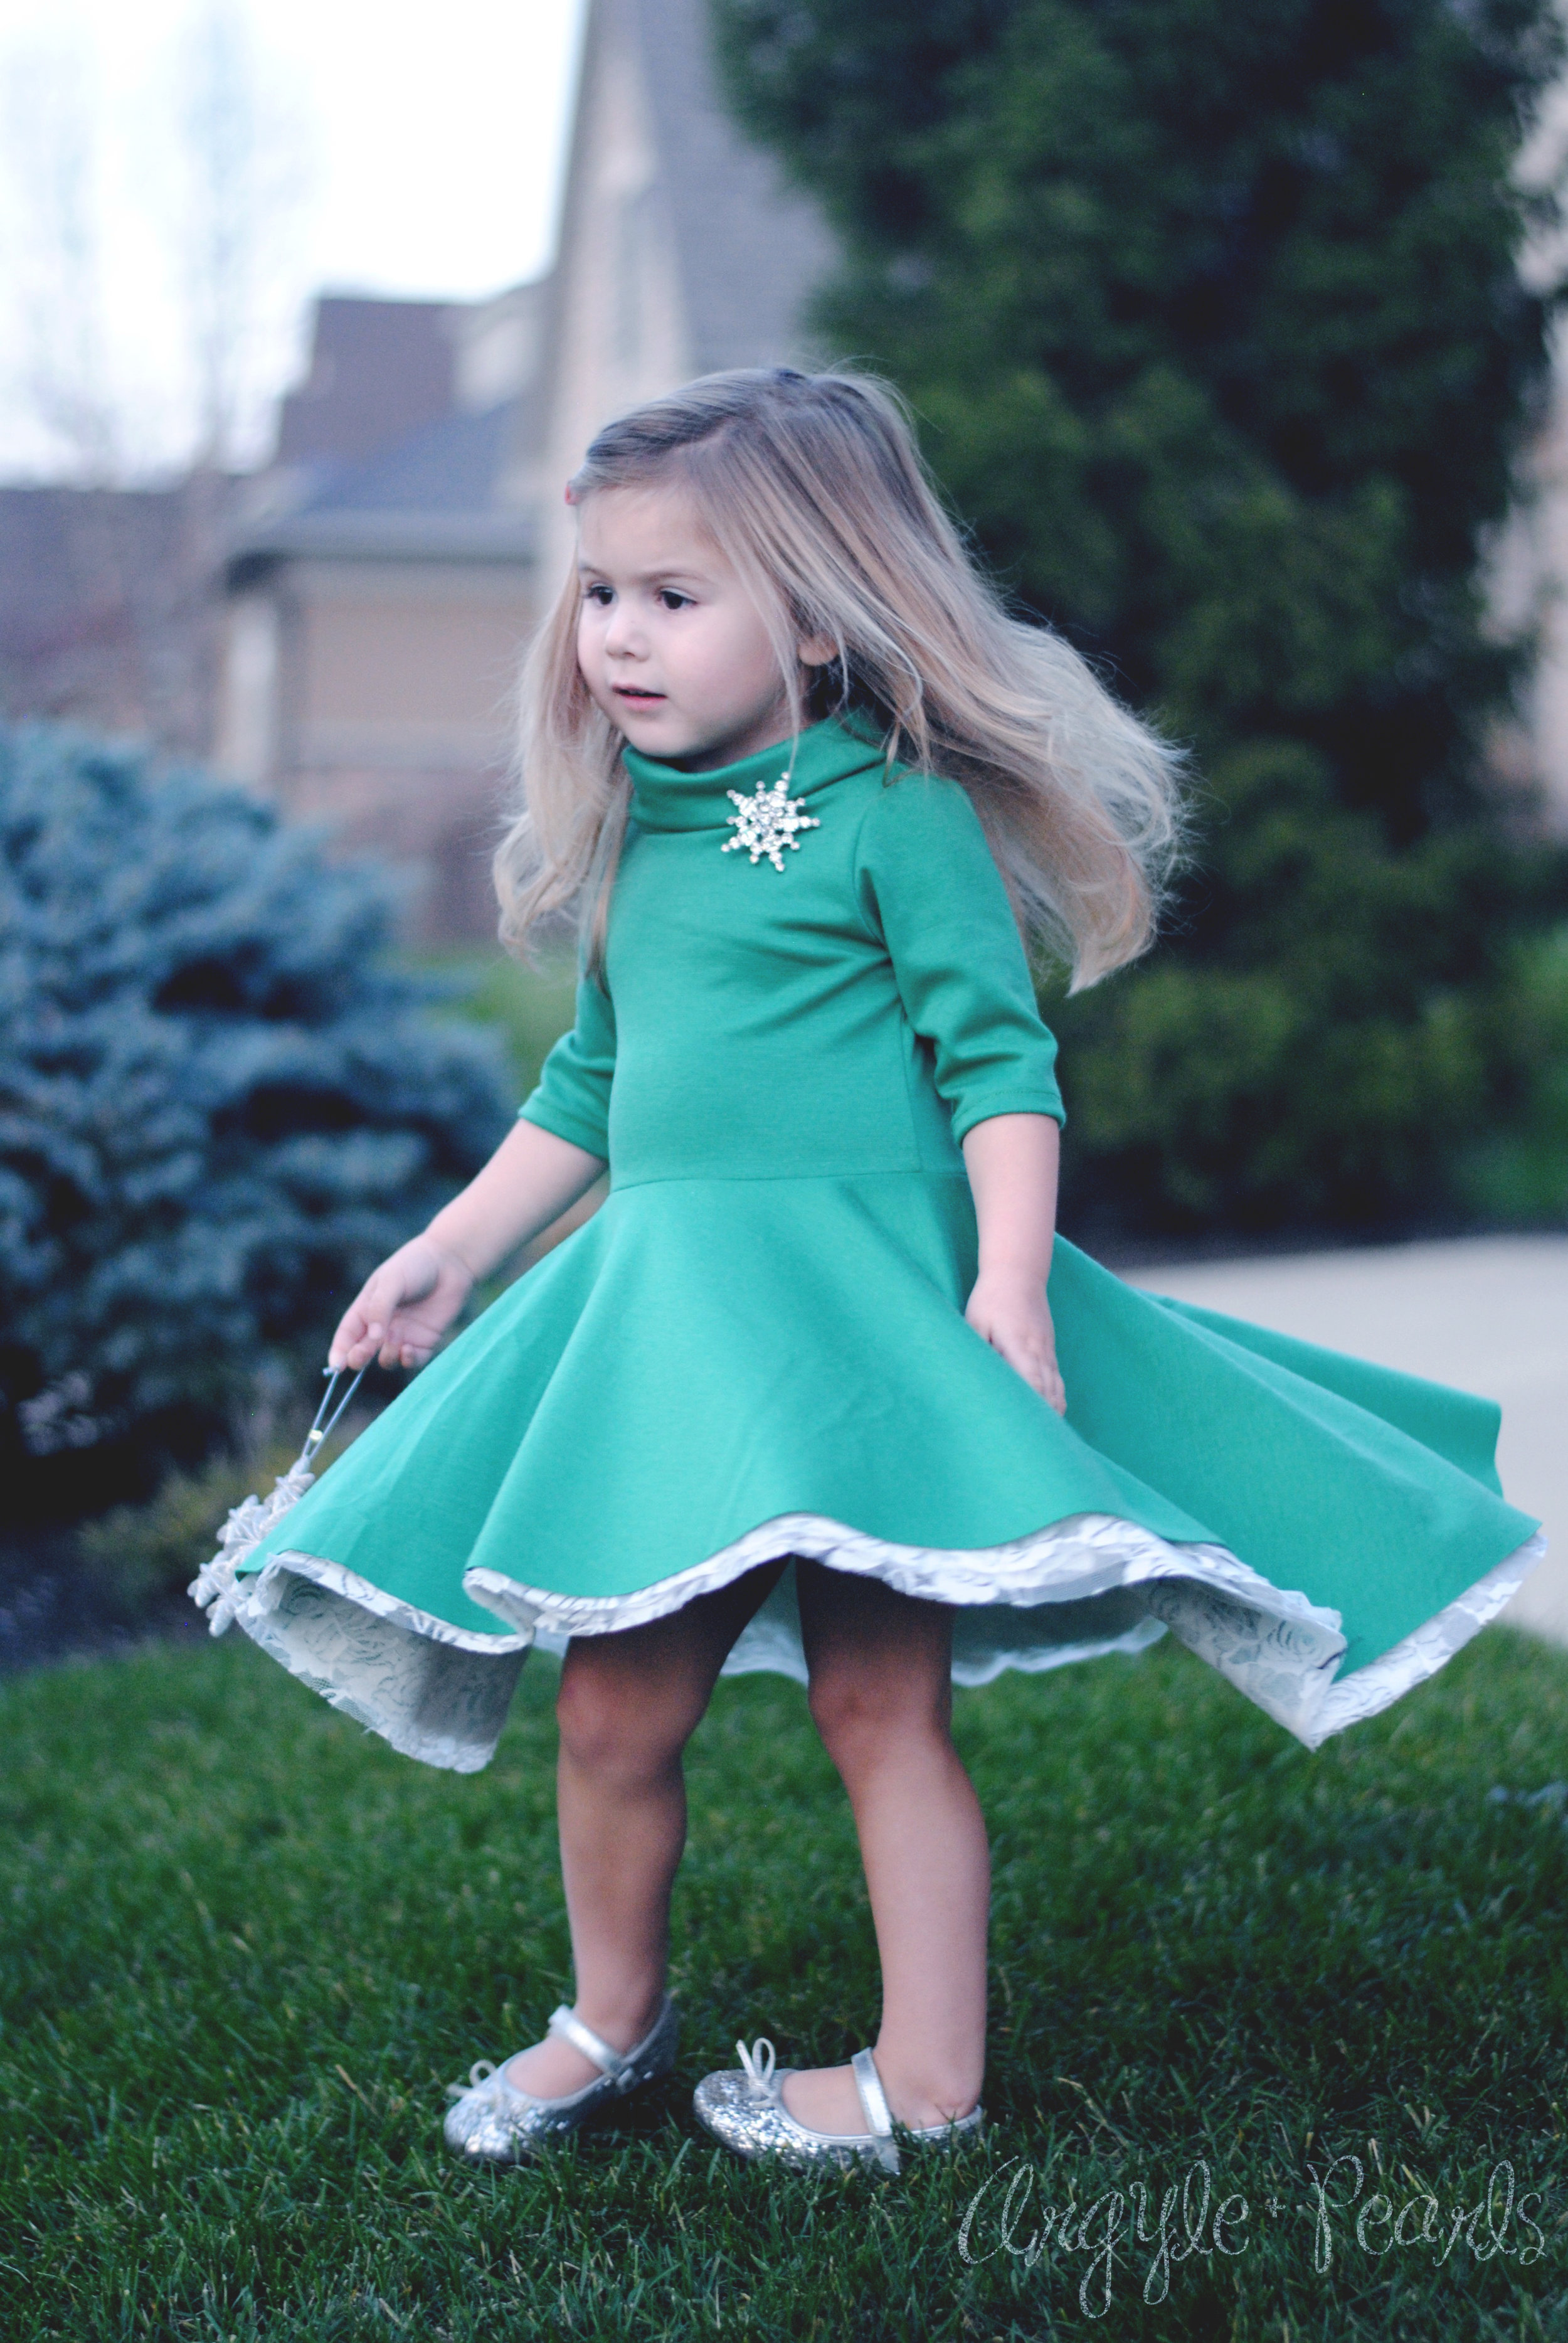
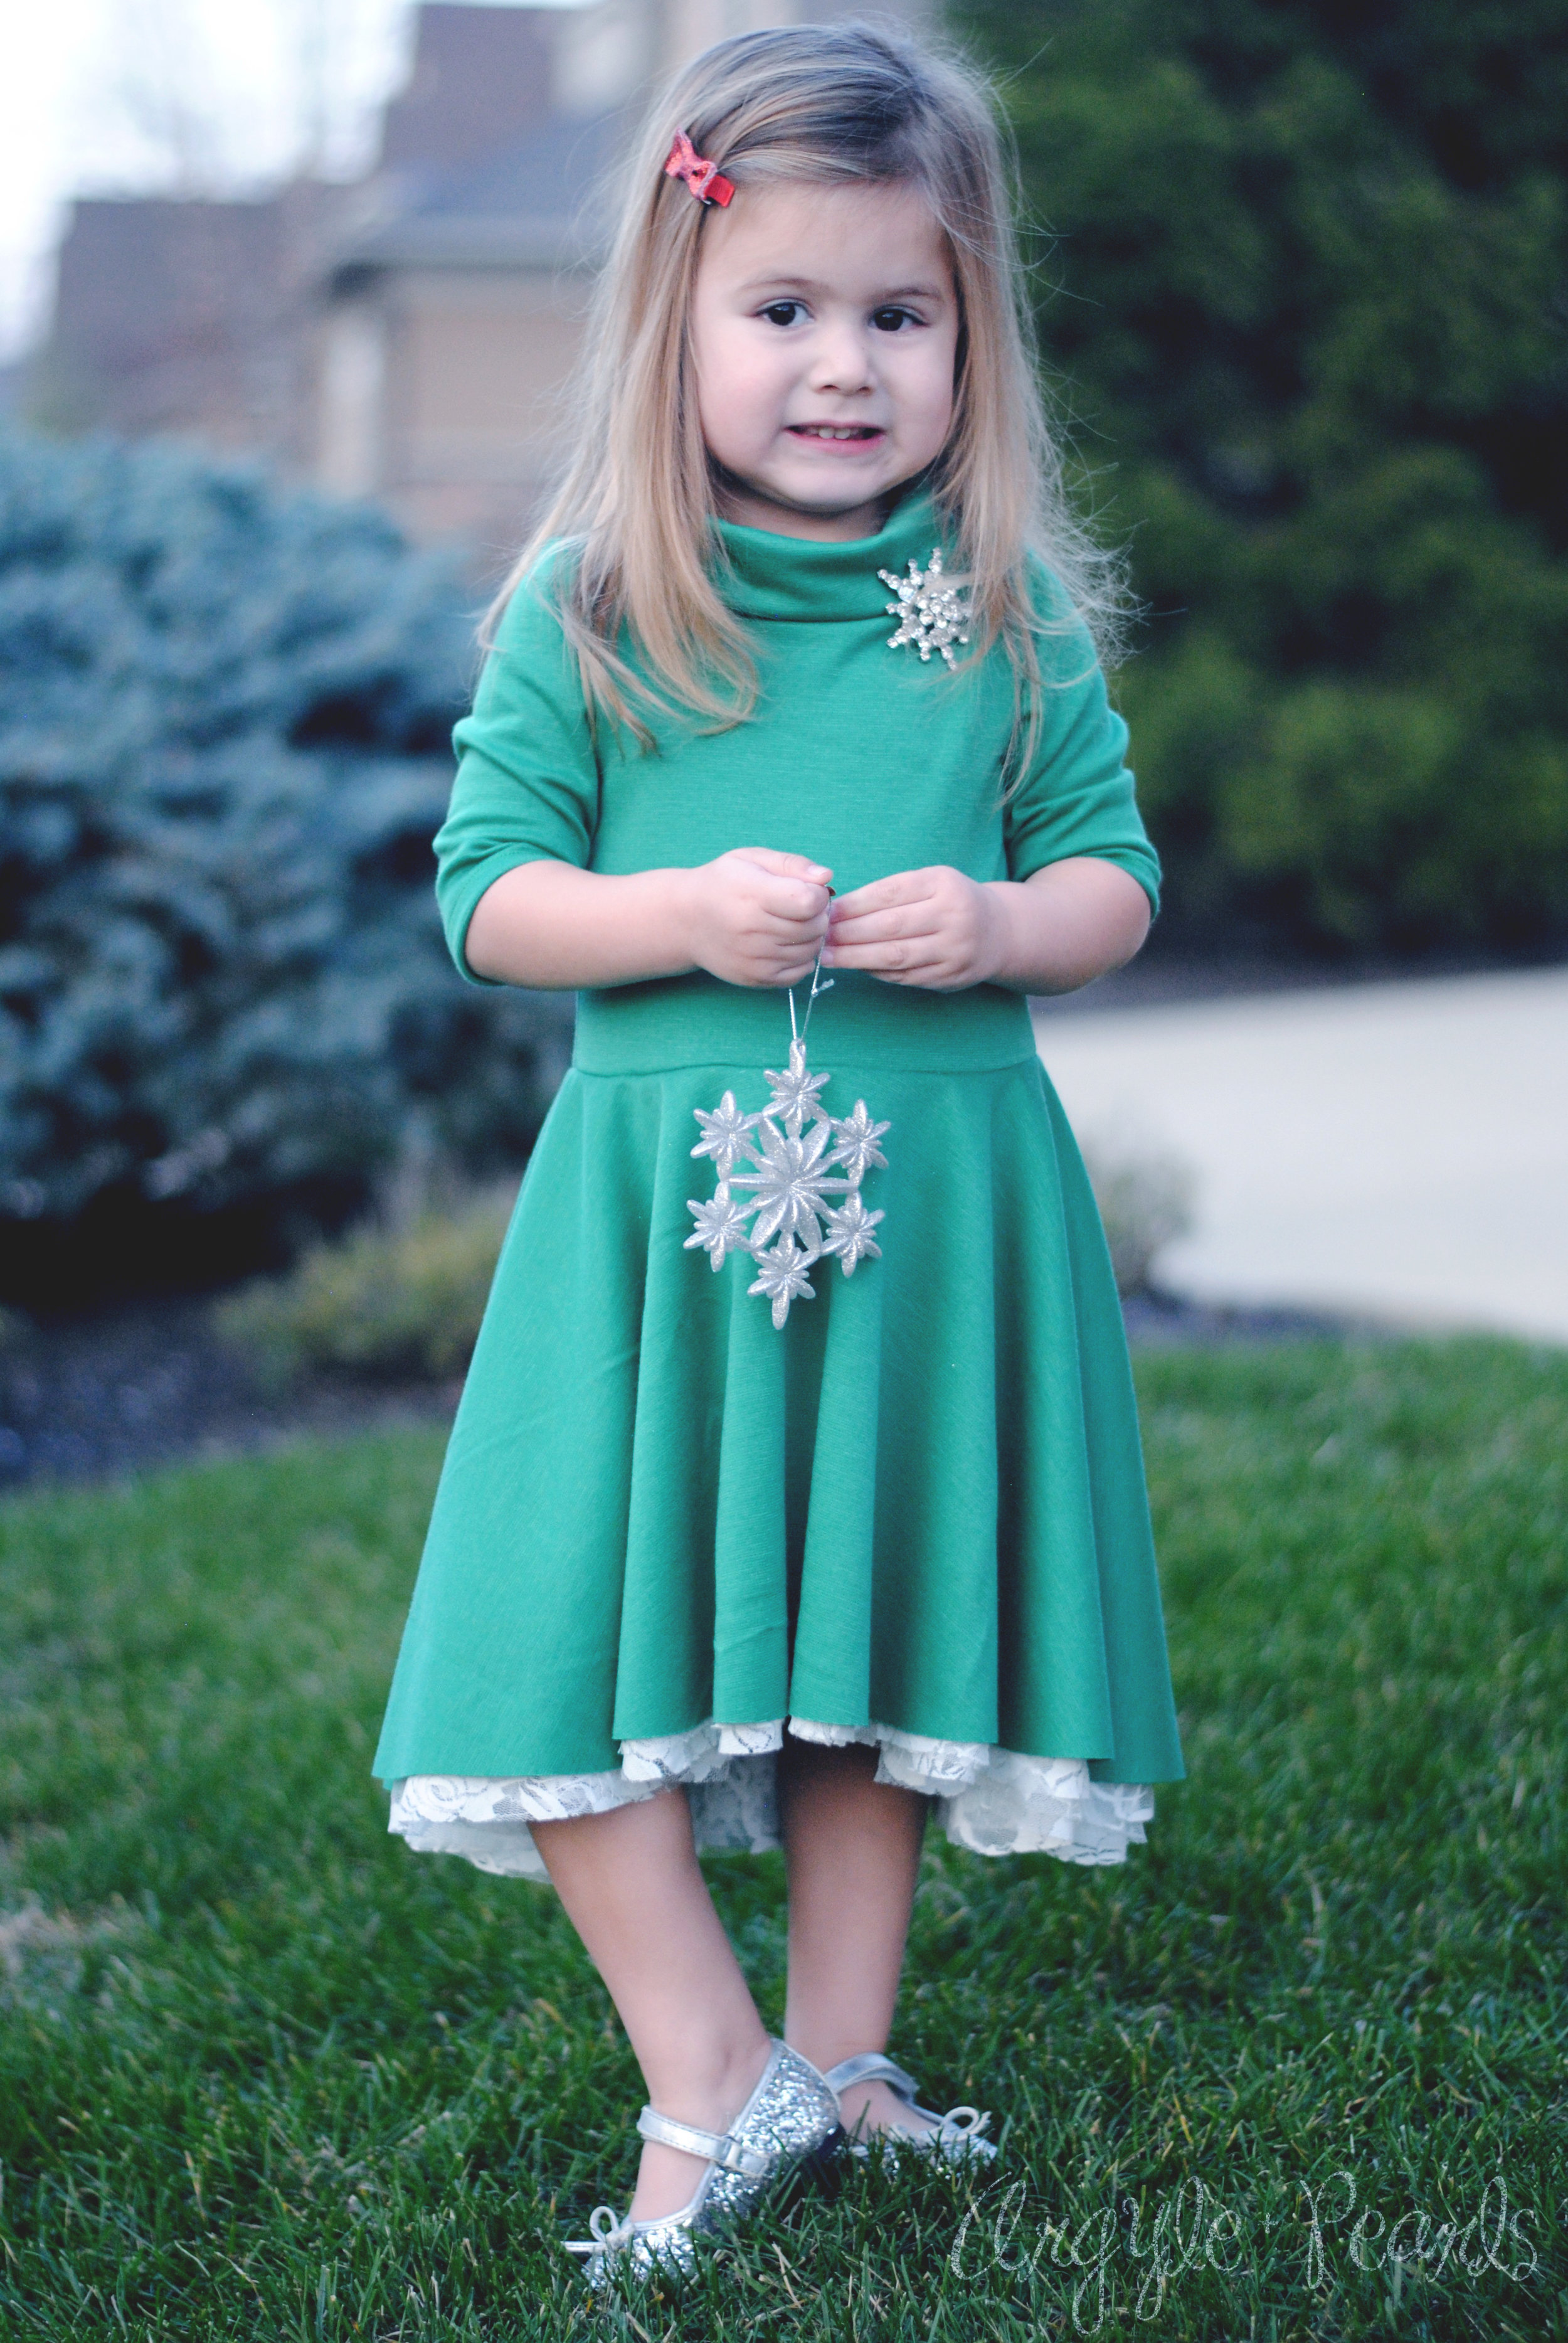
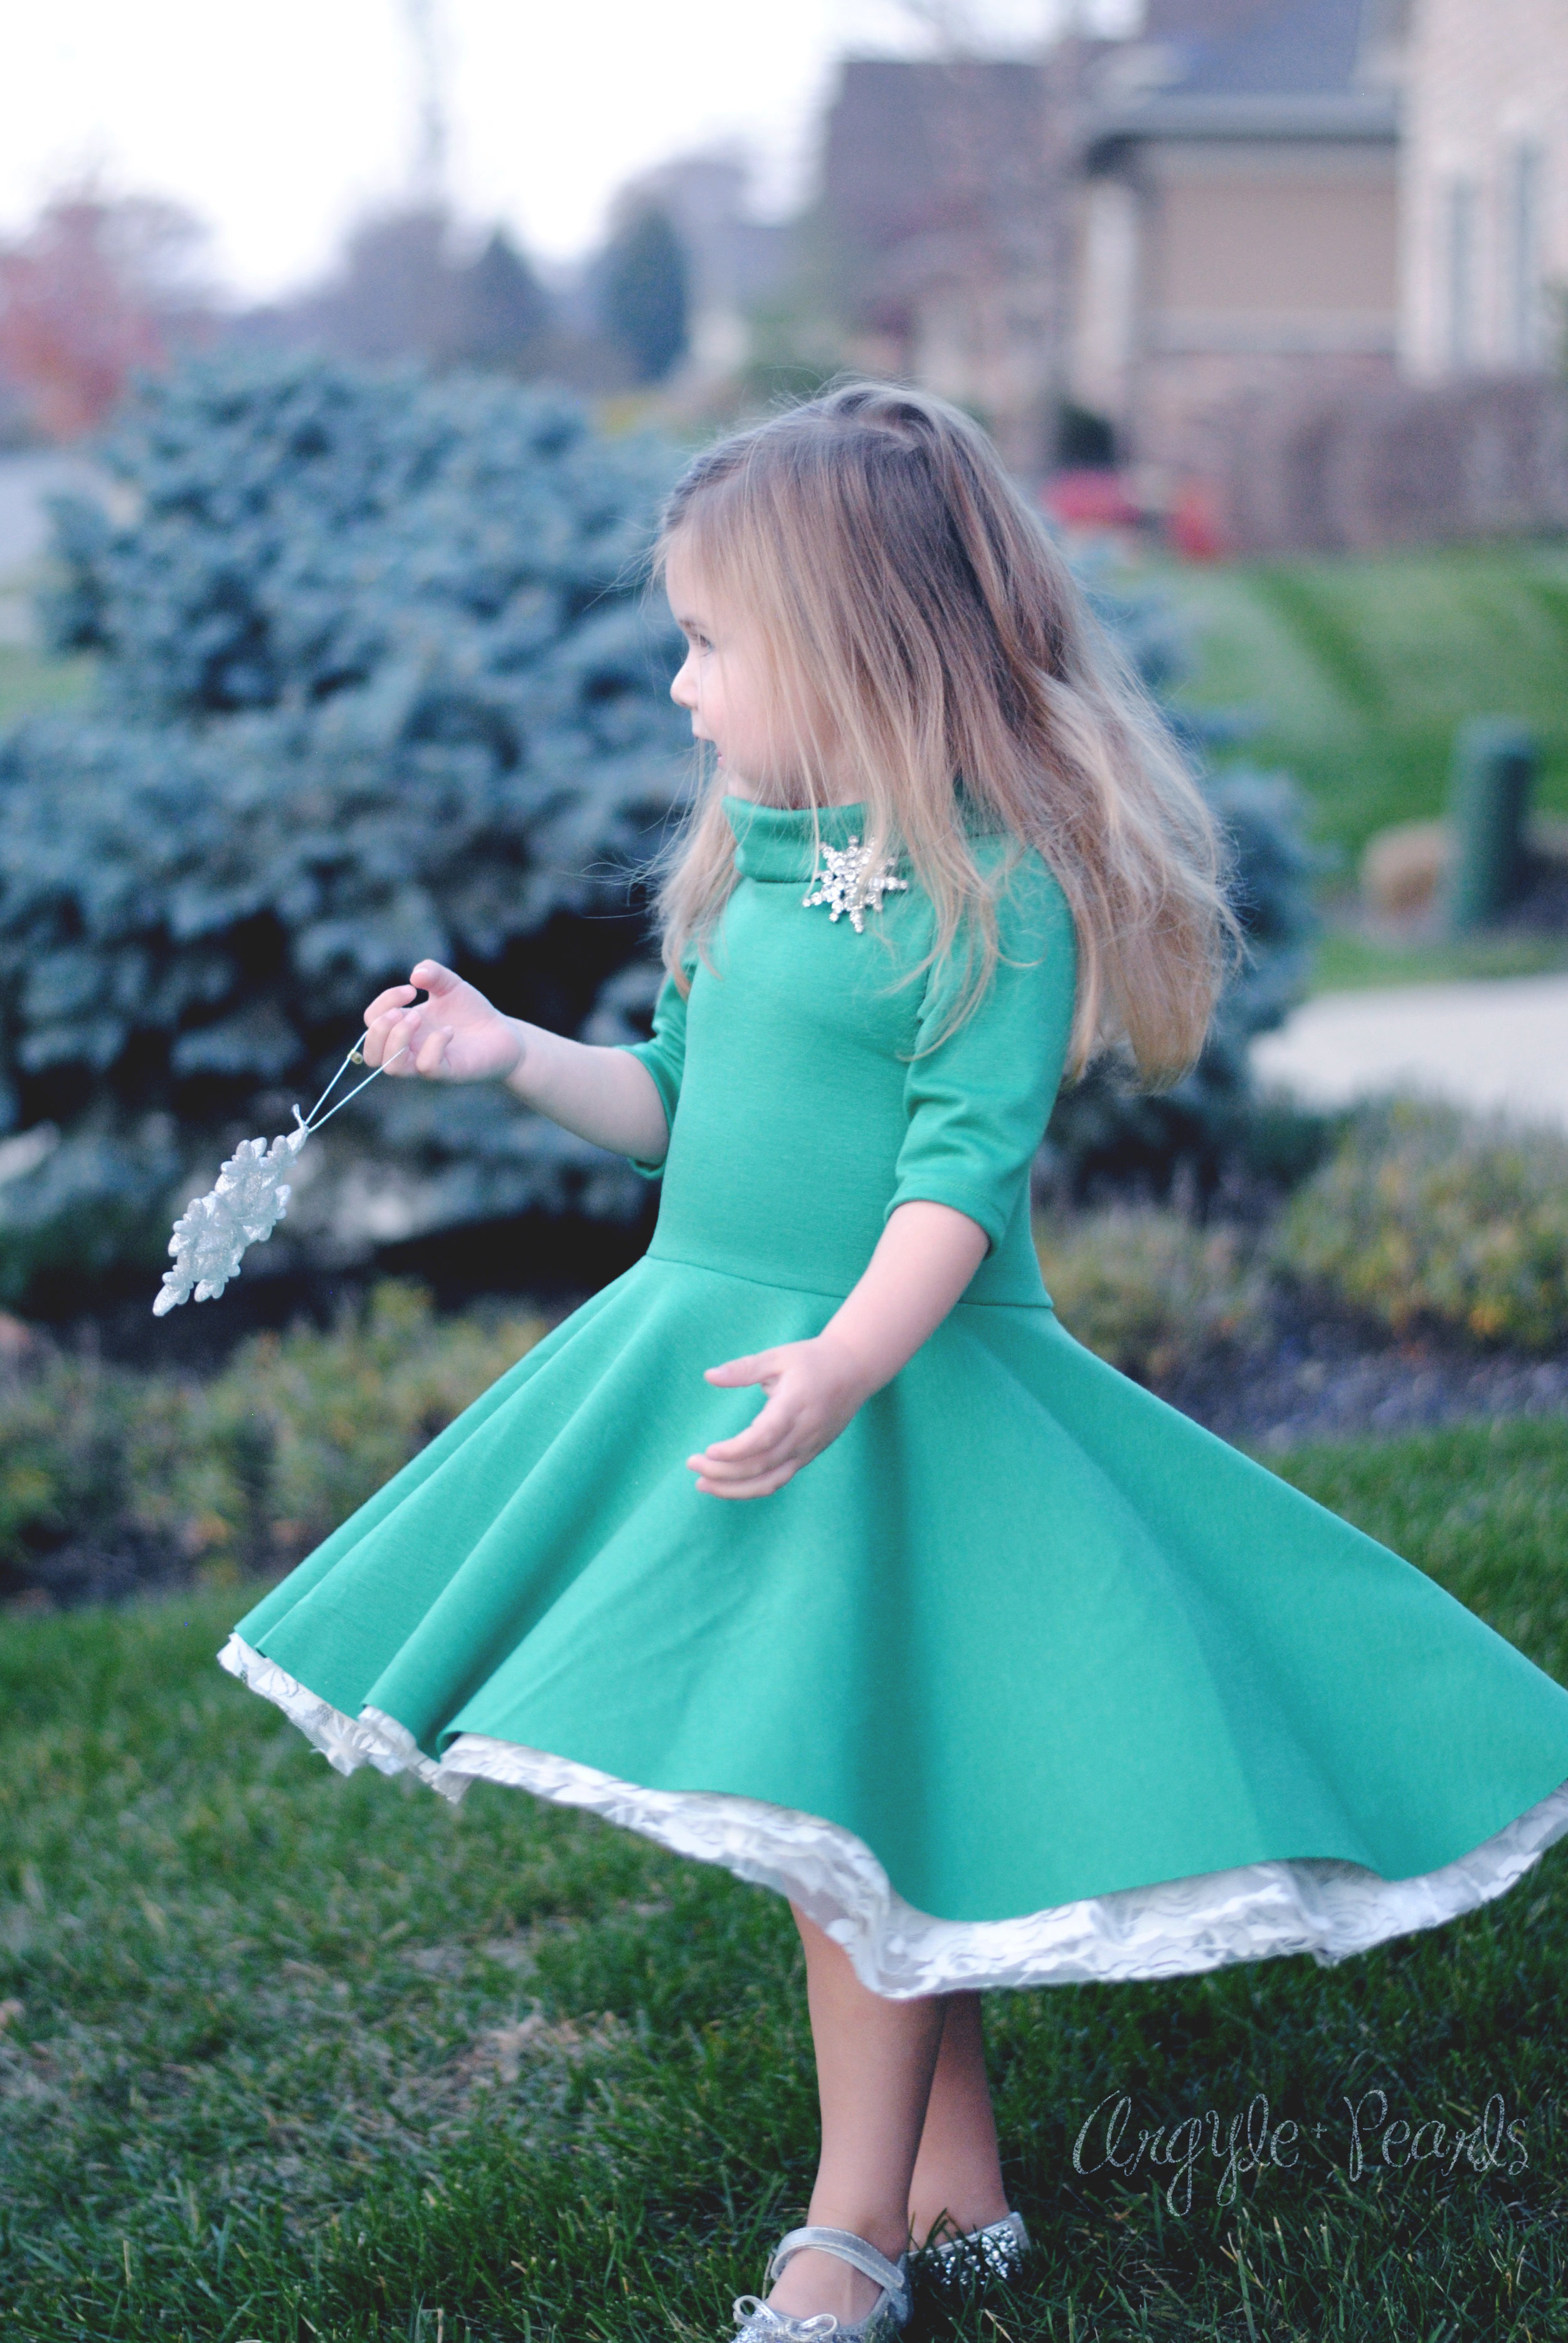
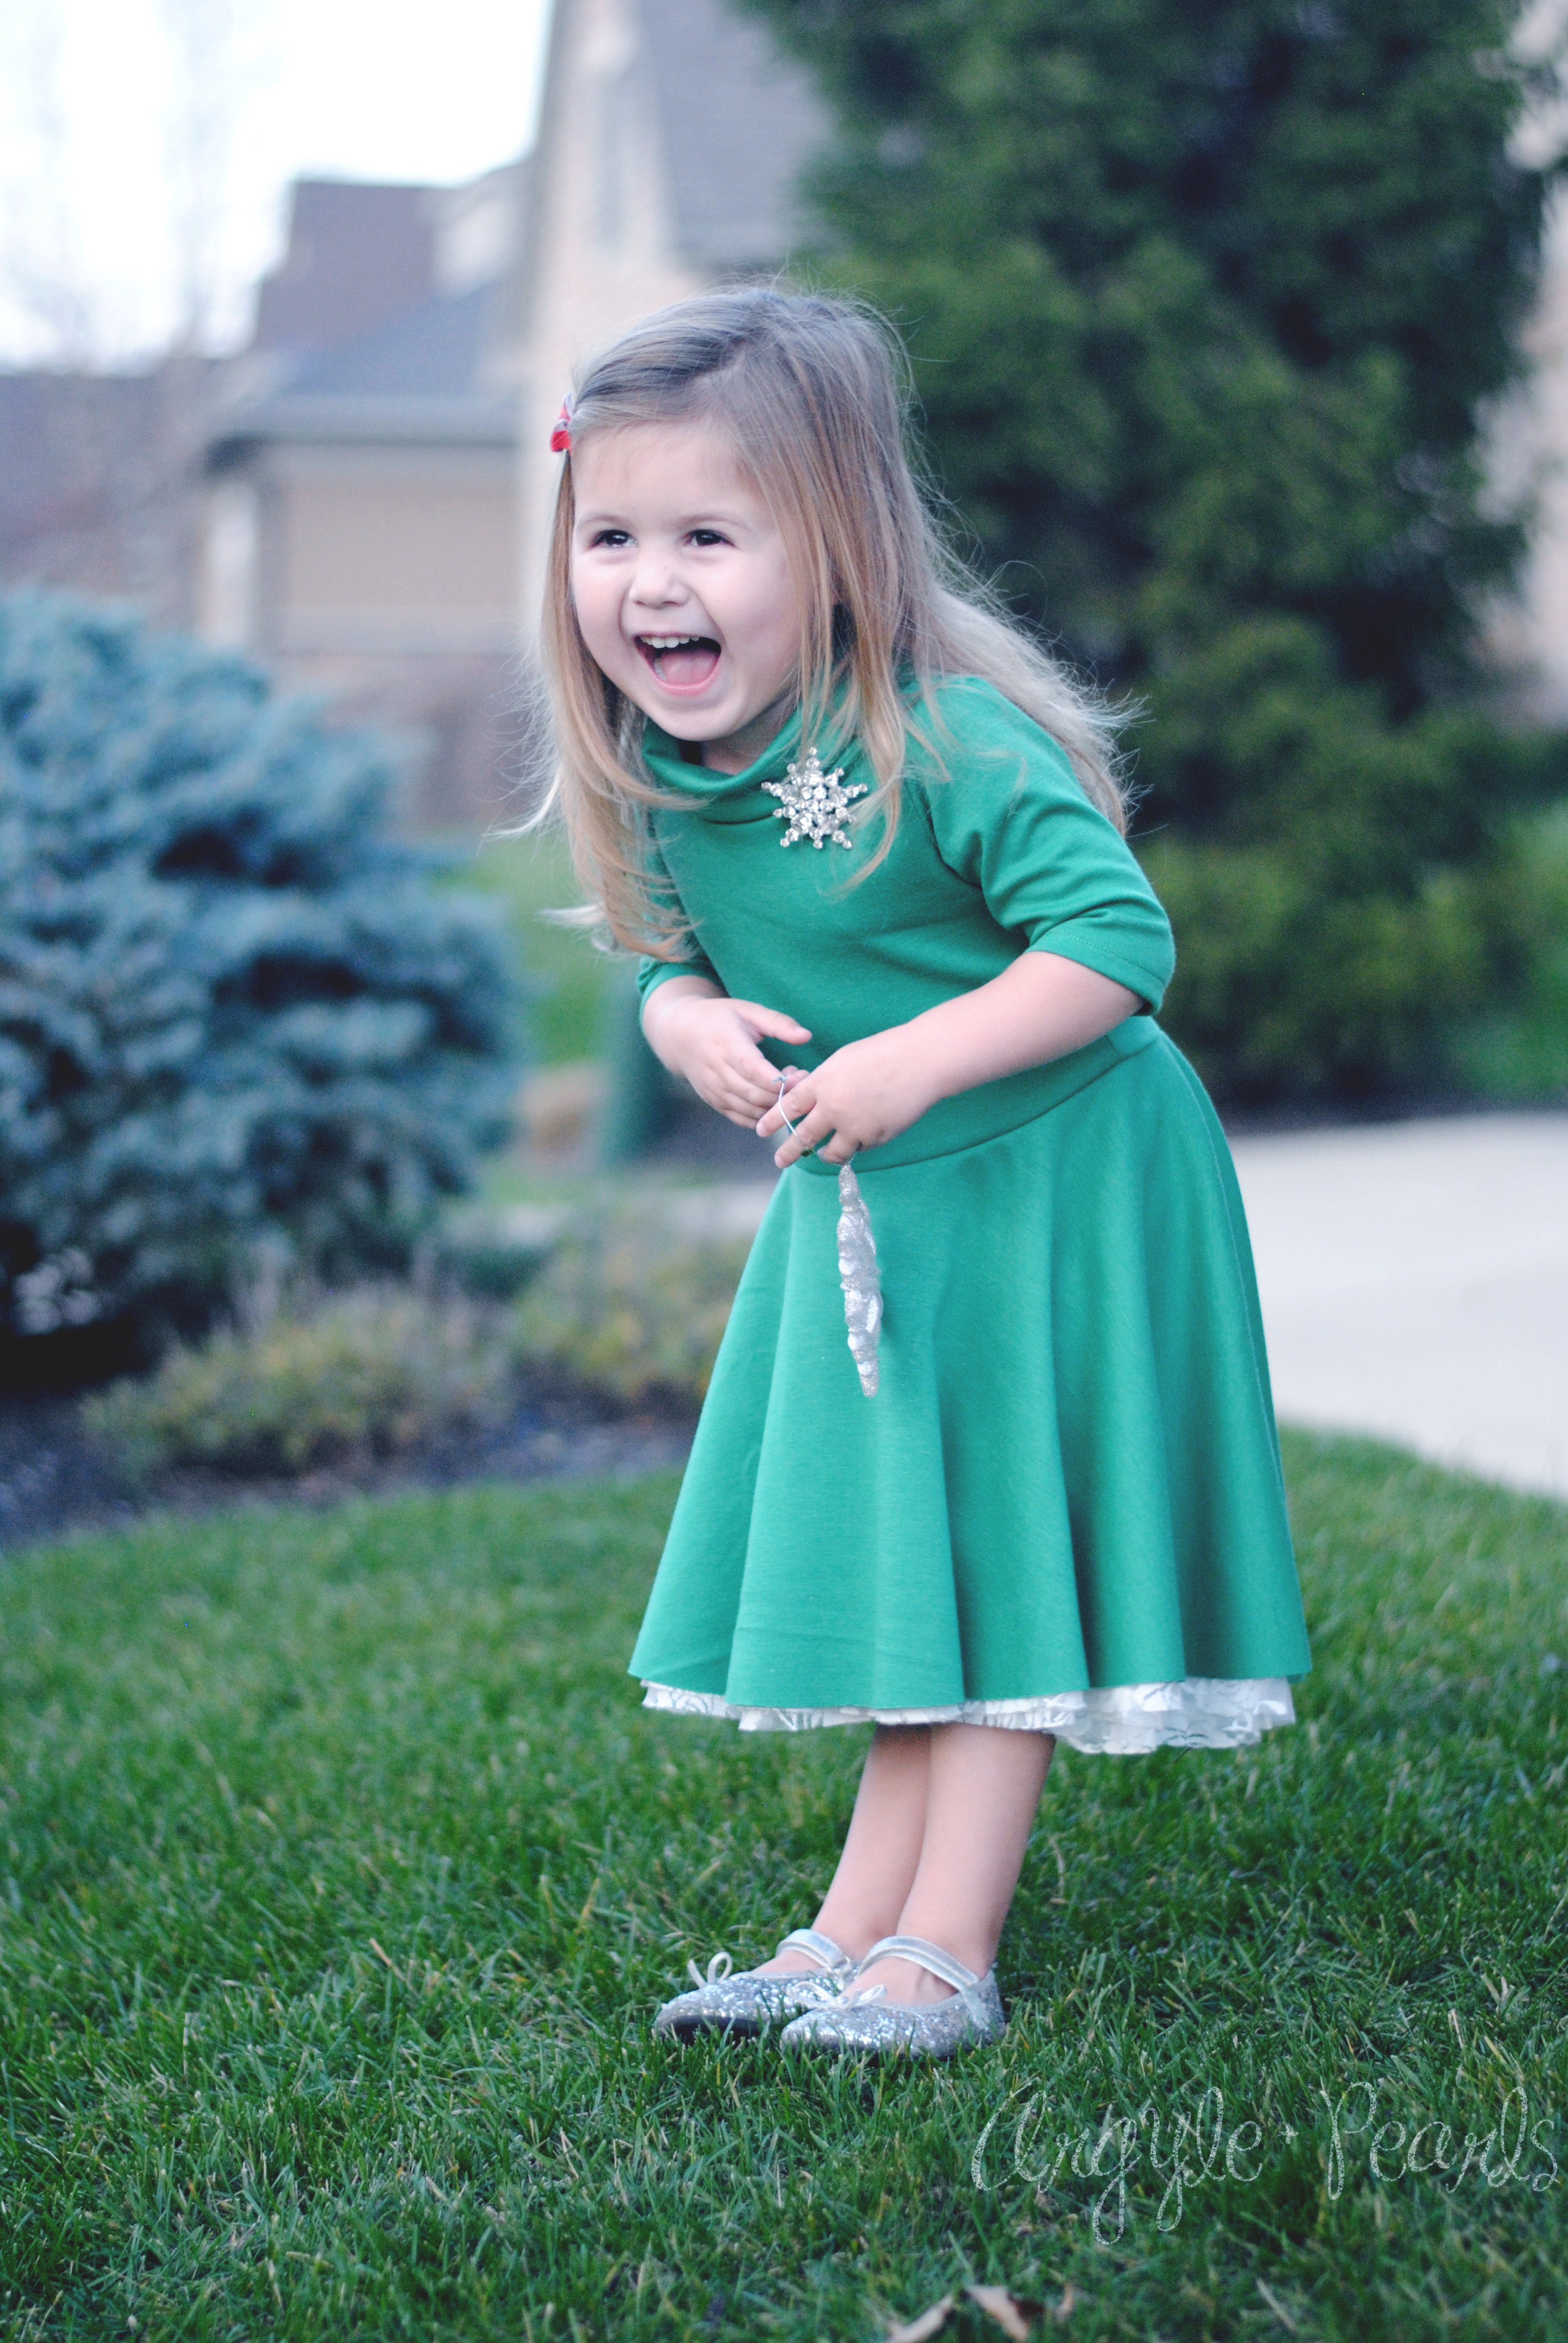
The third pattern I tested last week was the gorgeous Noelle Dress from Made for Mermaids. Its an addition to their Dreamy Collection, which is a beautiful collection of dress patterns, and includes a series of interchangeable bodices and skirts to create whatever gorgeous creation you wish! The Noelle features a stand-up boatneck cowl and a high low circle skirt or peplum with optional pettiskirt layers. Let me tell you, the twirl factor of this dress is perfect!!
I knew I wanted to make a Christmas dress for my daughter to wear to our Santa Brunch at the County Club. I chose a gorgeous kelly green Ponte de Roma fabric I've had in my stash from Girl Charlee for almost 2 years now. It was the perfect color and weight for this dress! I also knew I had to make a pettiskirt for optimal twirling, so I opted for 3 layers of stretch lace. I found my off white lace at Walmart of all places!
You can pick up your copy of this pattern here. Remember its meant to be able to mix and match with some of the other pieces in the Dreamy Collection!

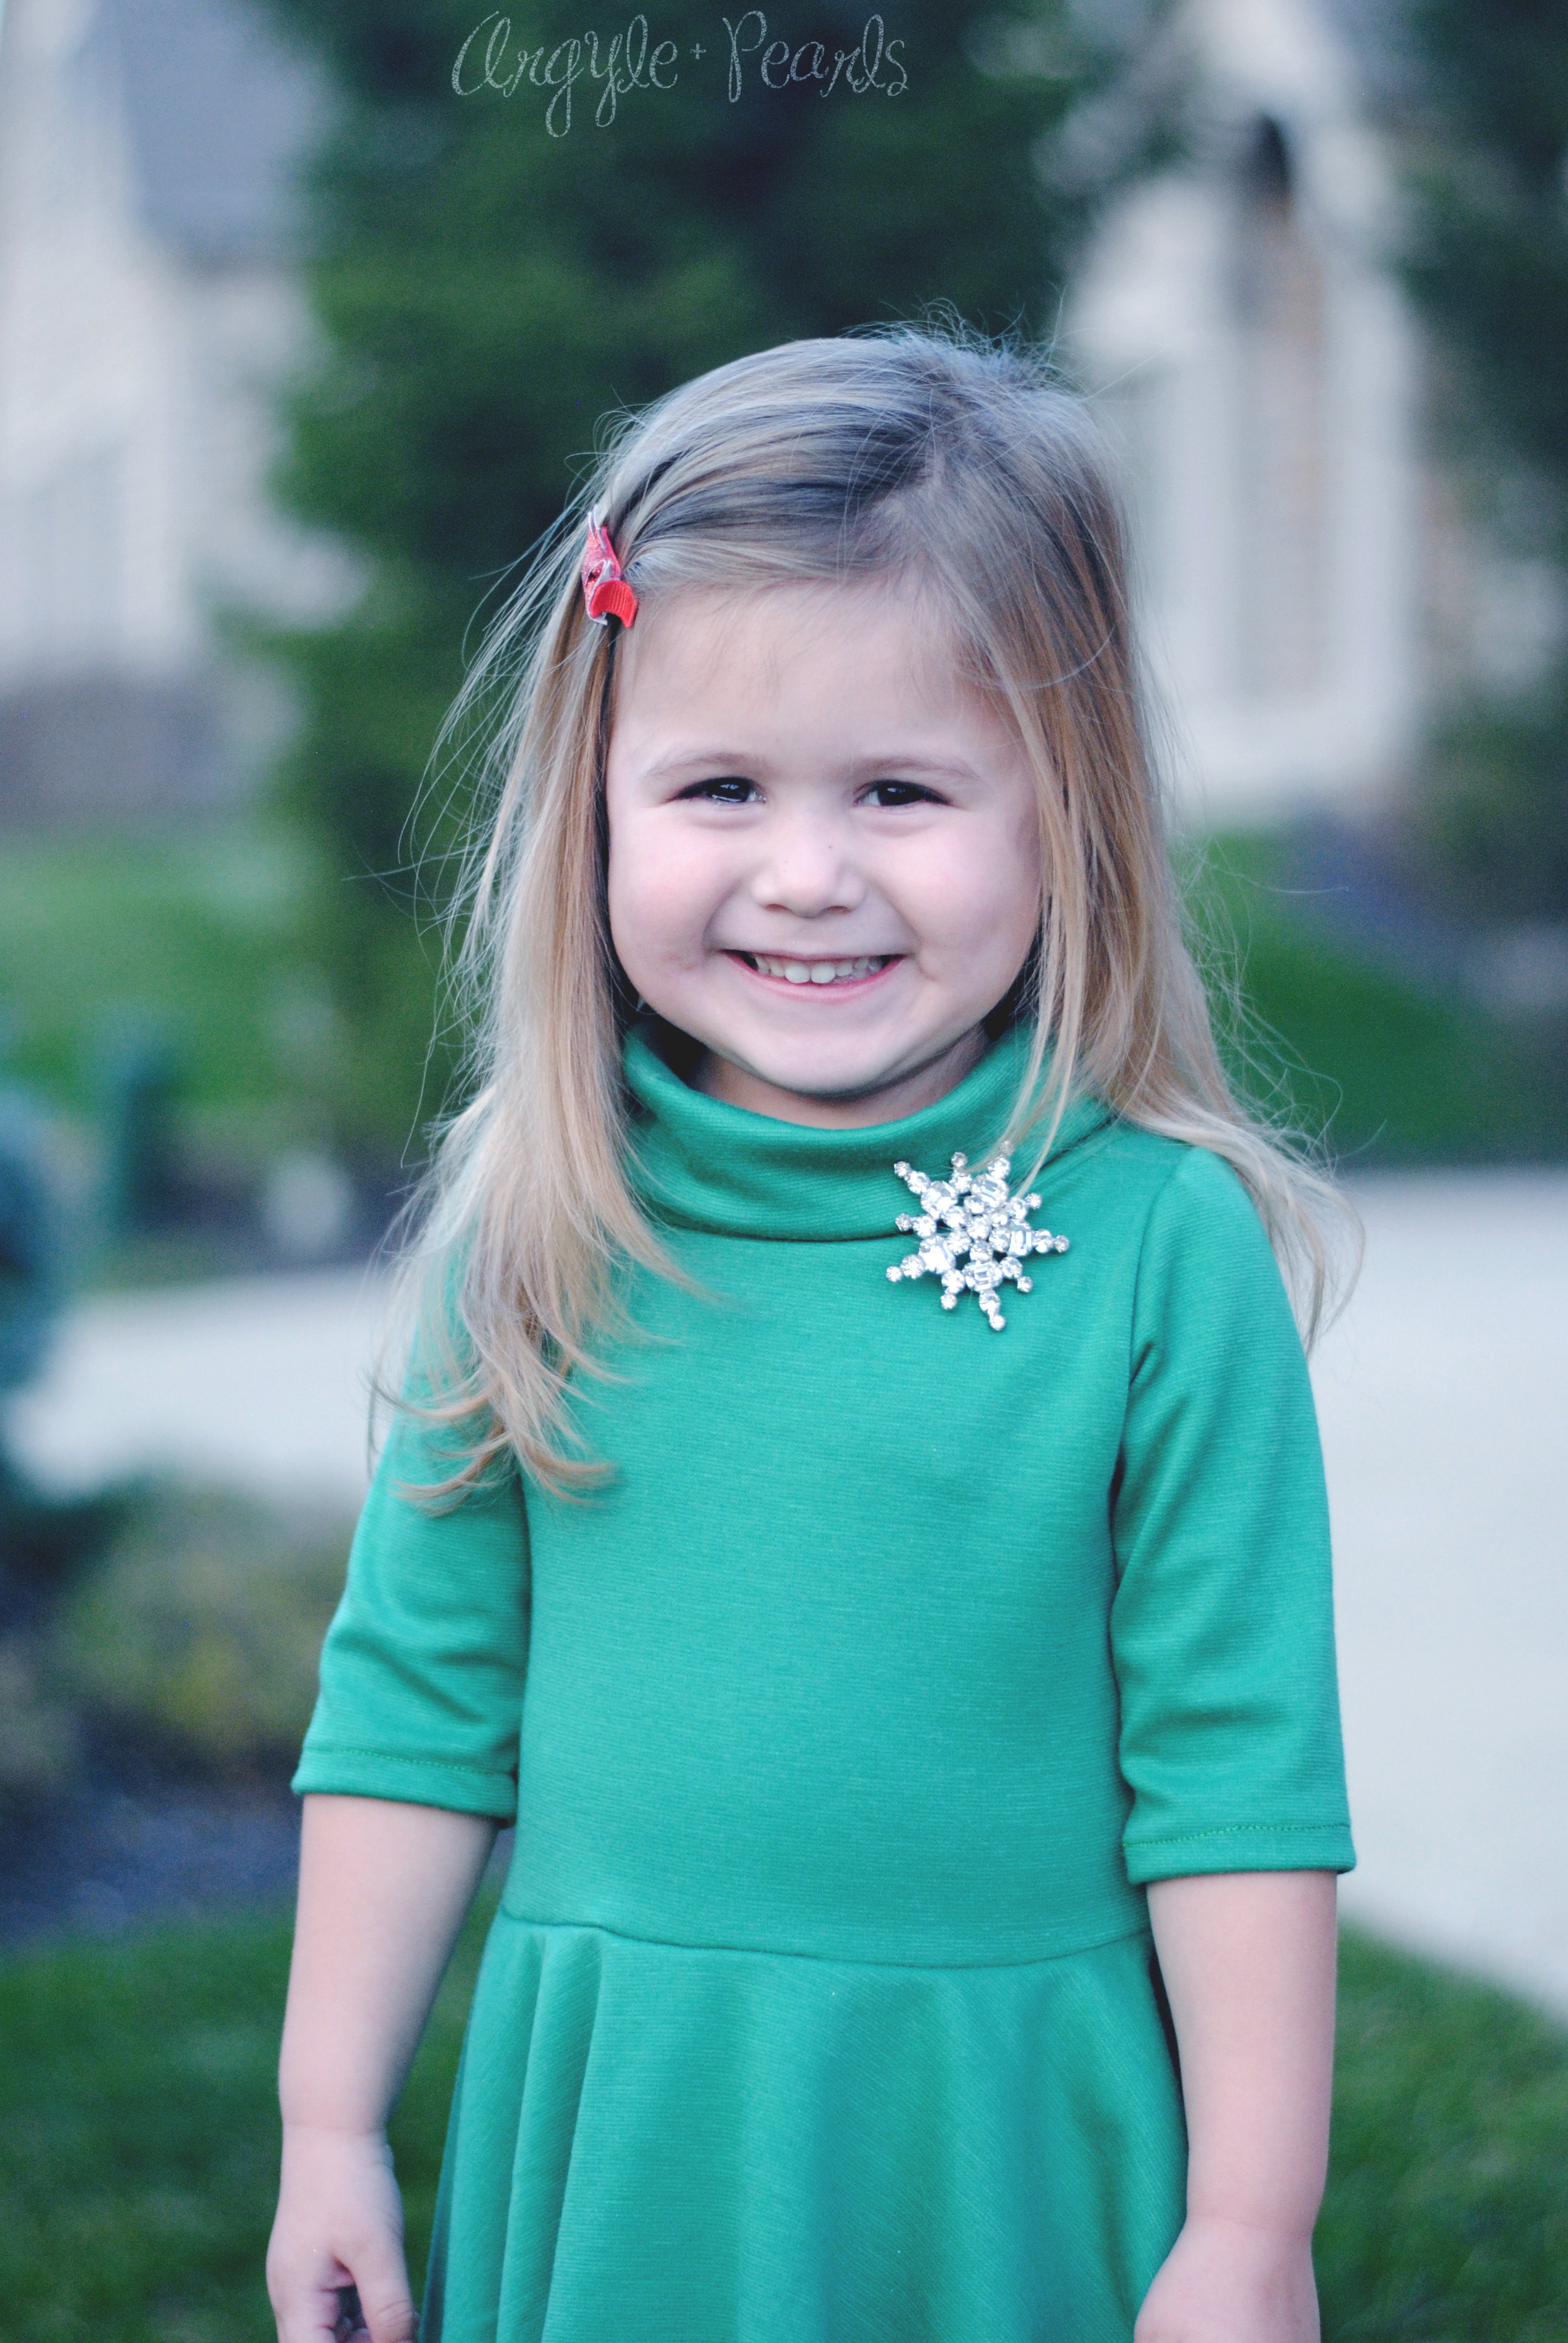


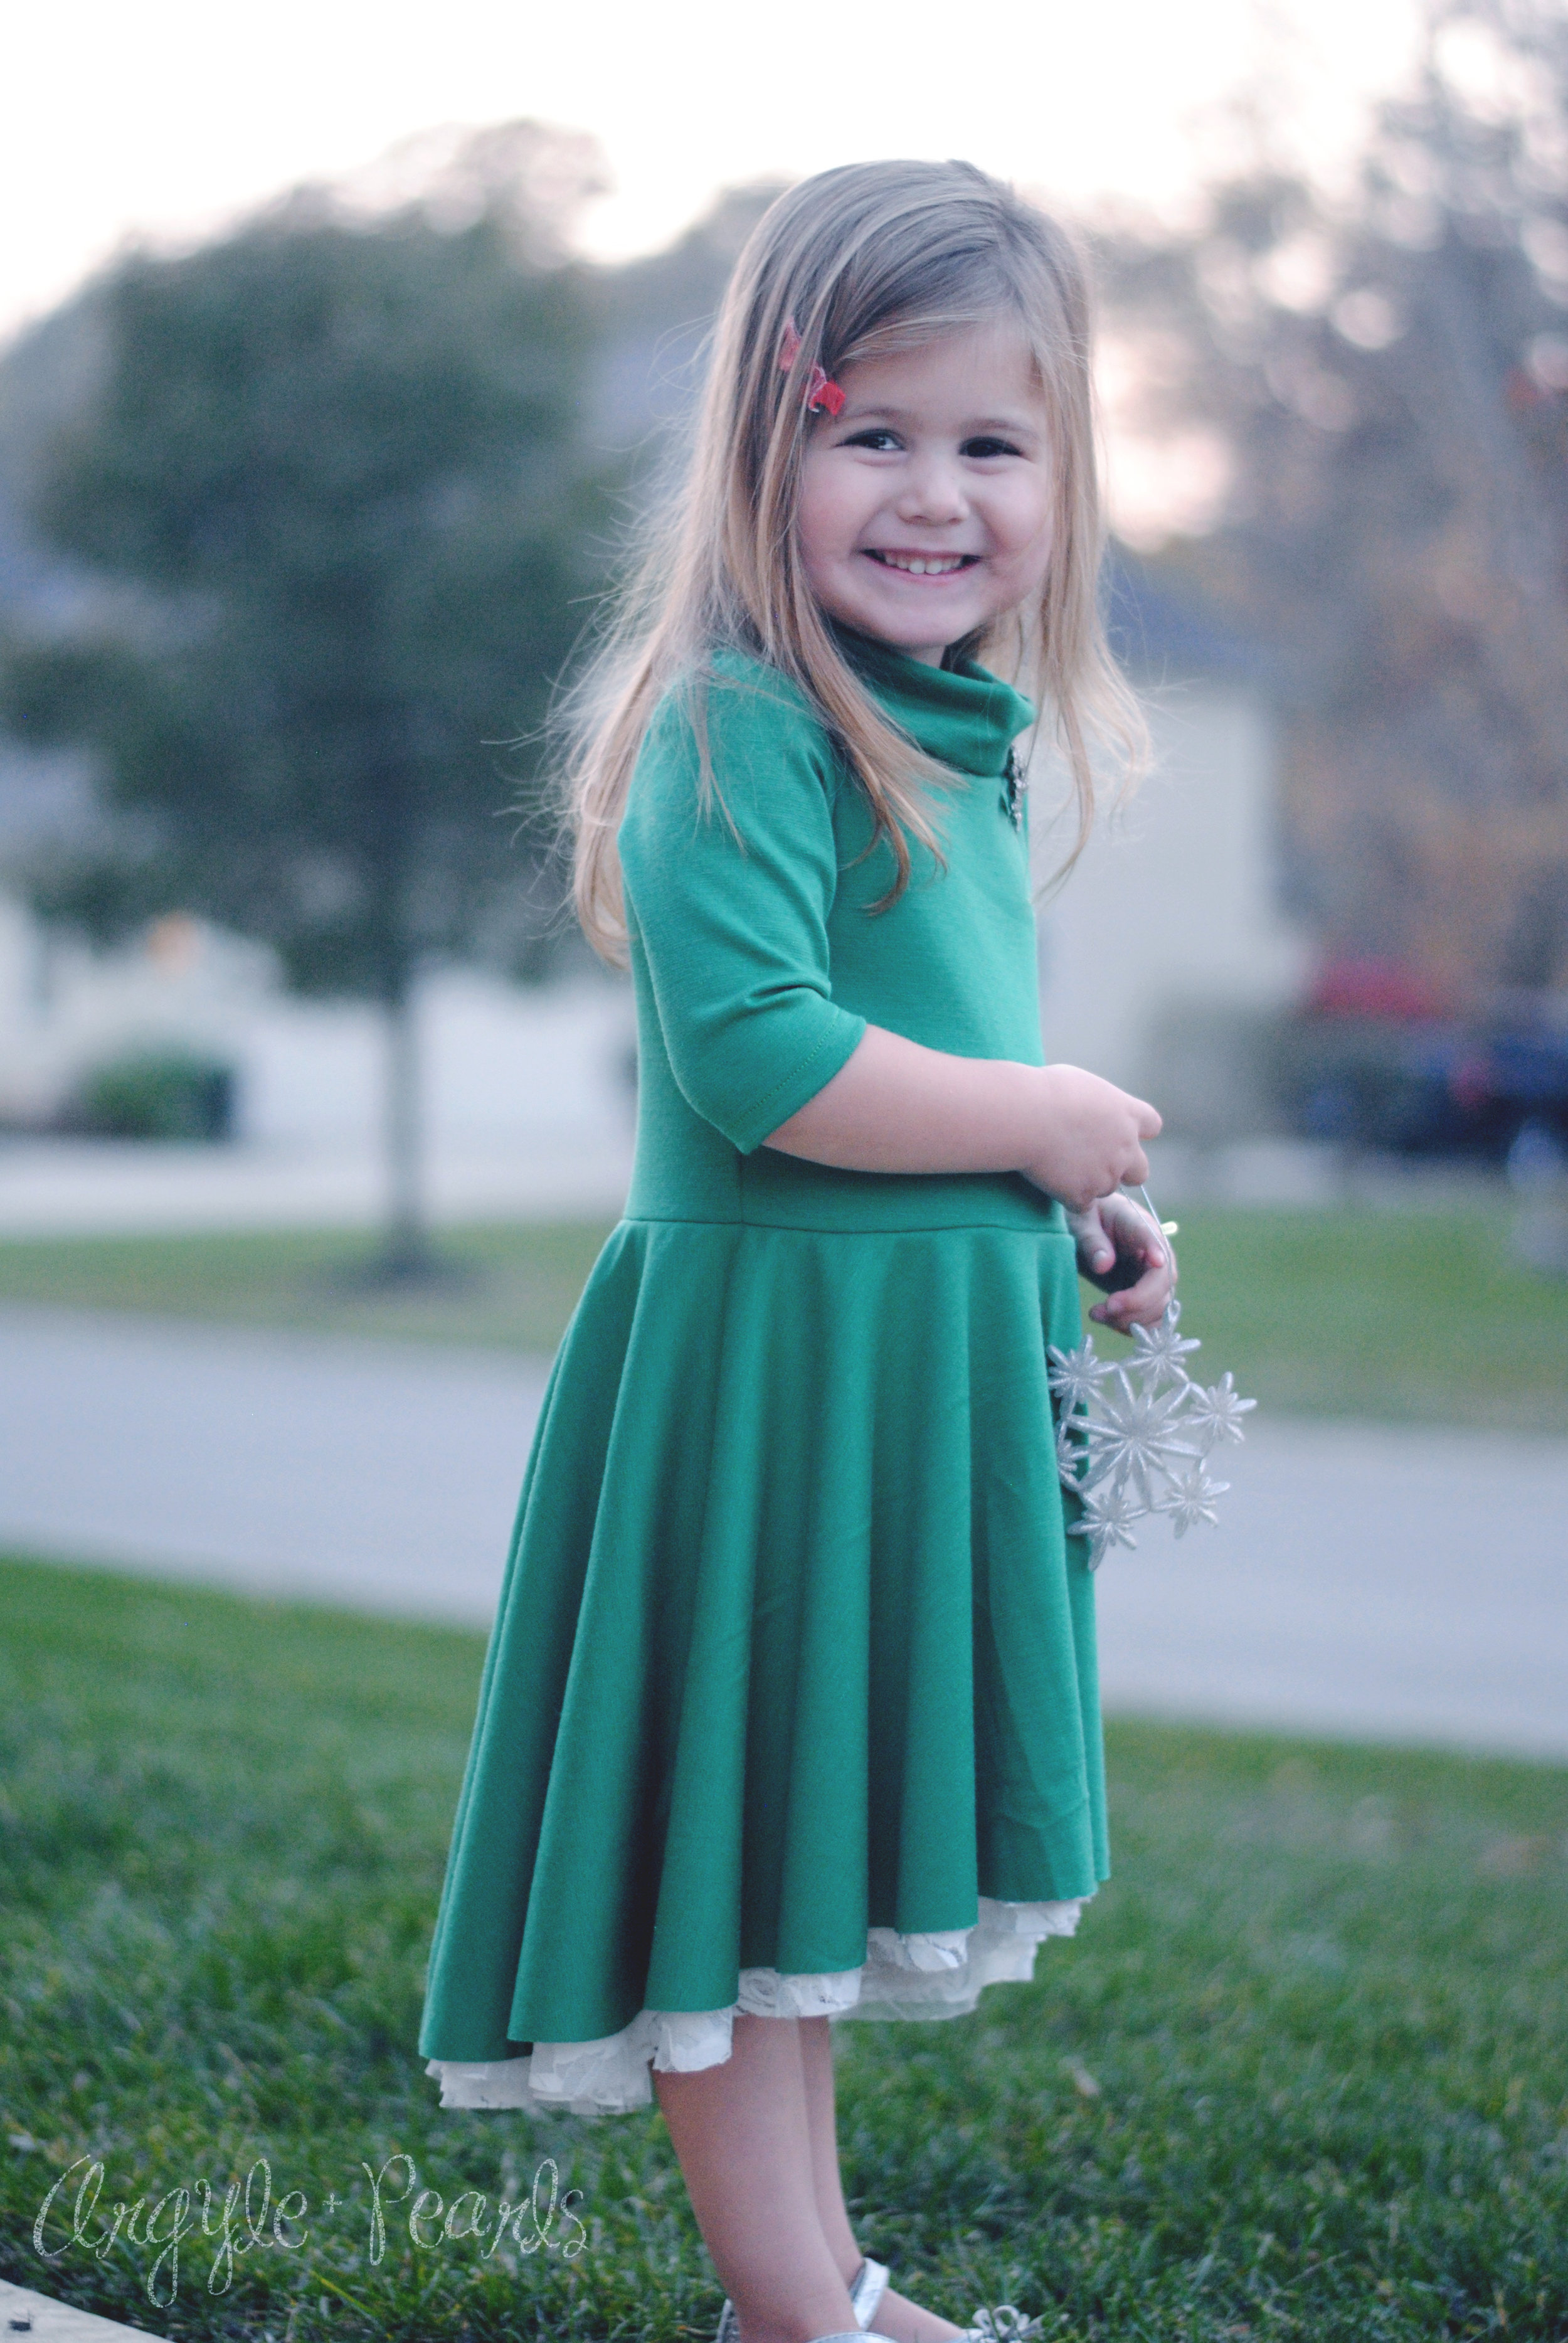


The lighting was so perfect for the dress photo shoot, and my kids were in such good moods, I took advantage and turned it into a Christmas Card shoot as well. Found a winner!
Please note that this post contains links. Some of these are "affiliate links" which means I get paid a tiny portion of whatever is purchased. Affiliate payments go directly to my fabric fund to continue the cycle of testing more patterns so I can share the love with you!