

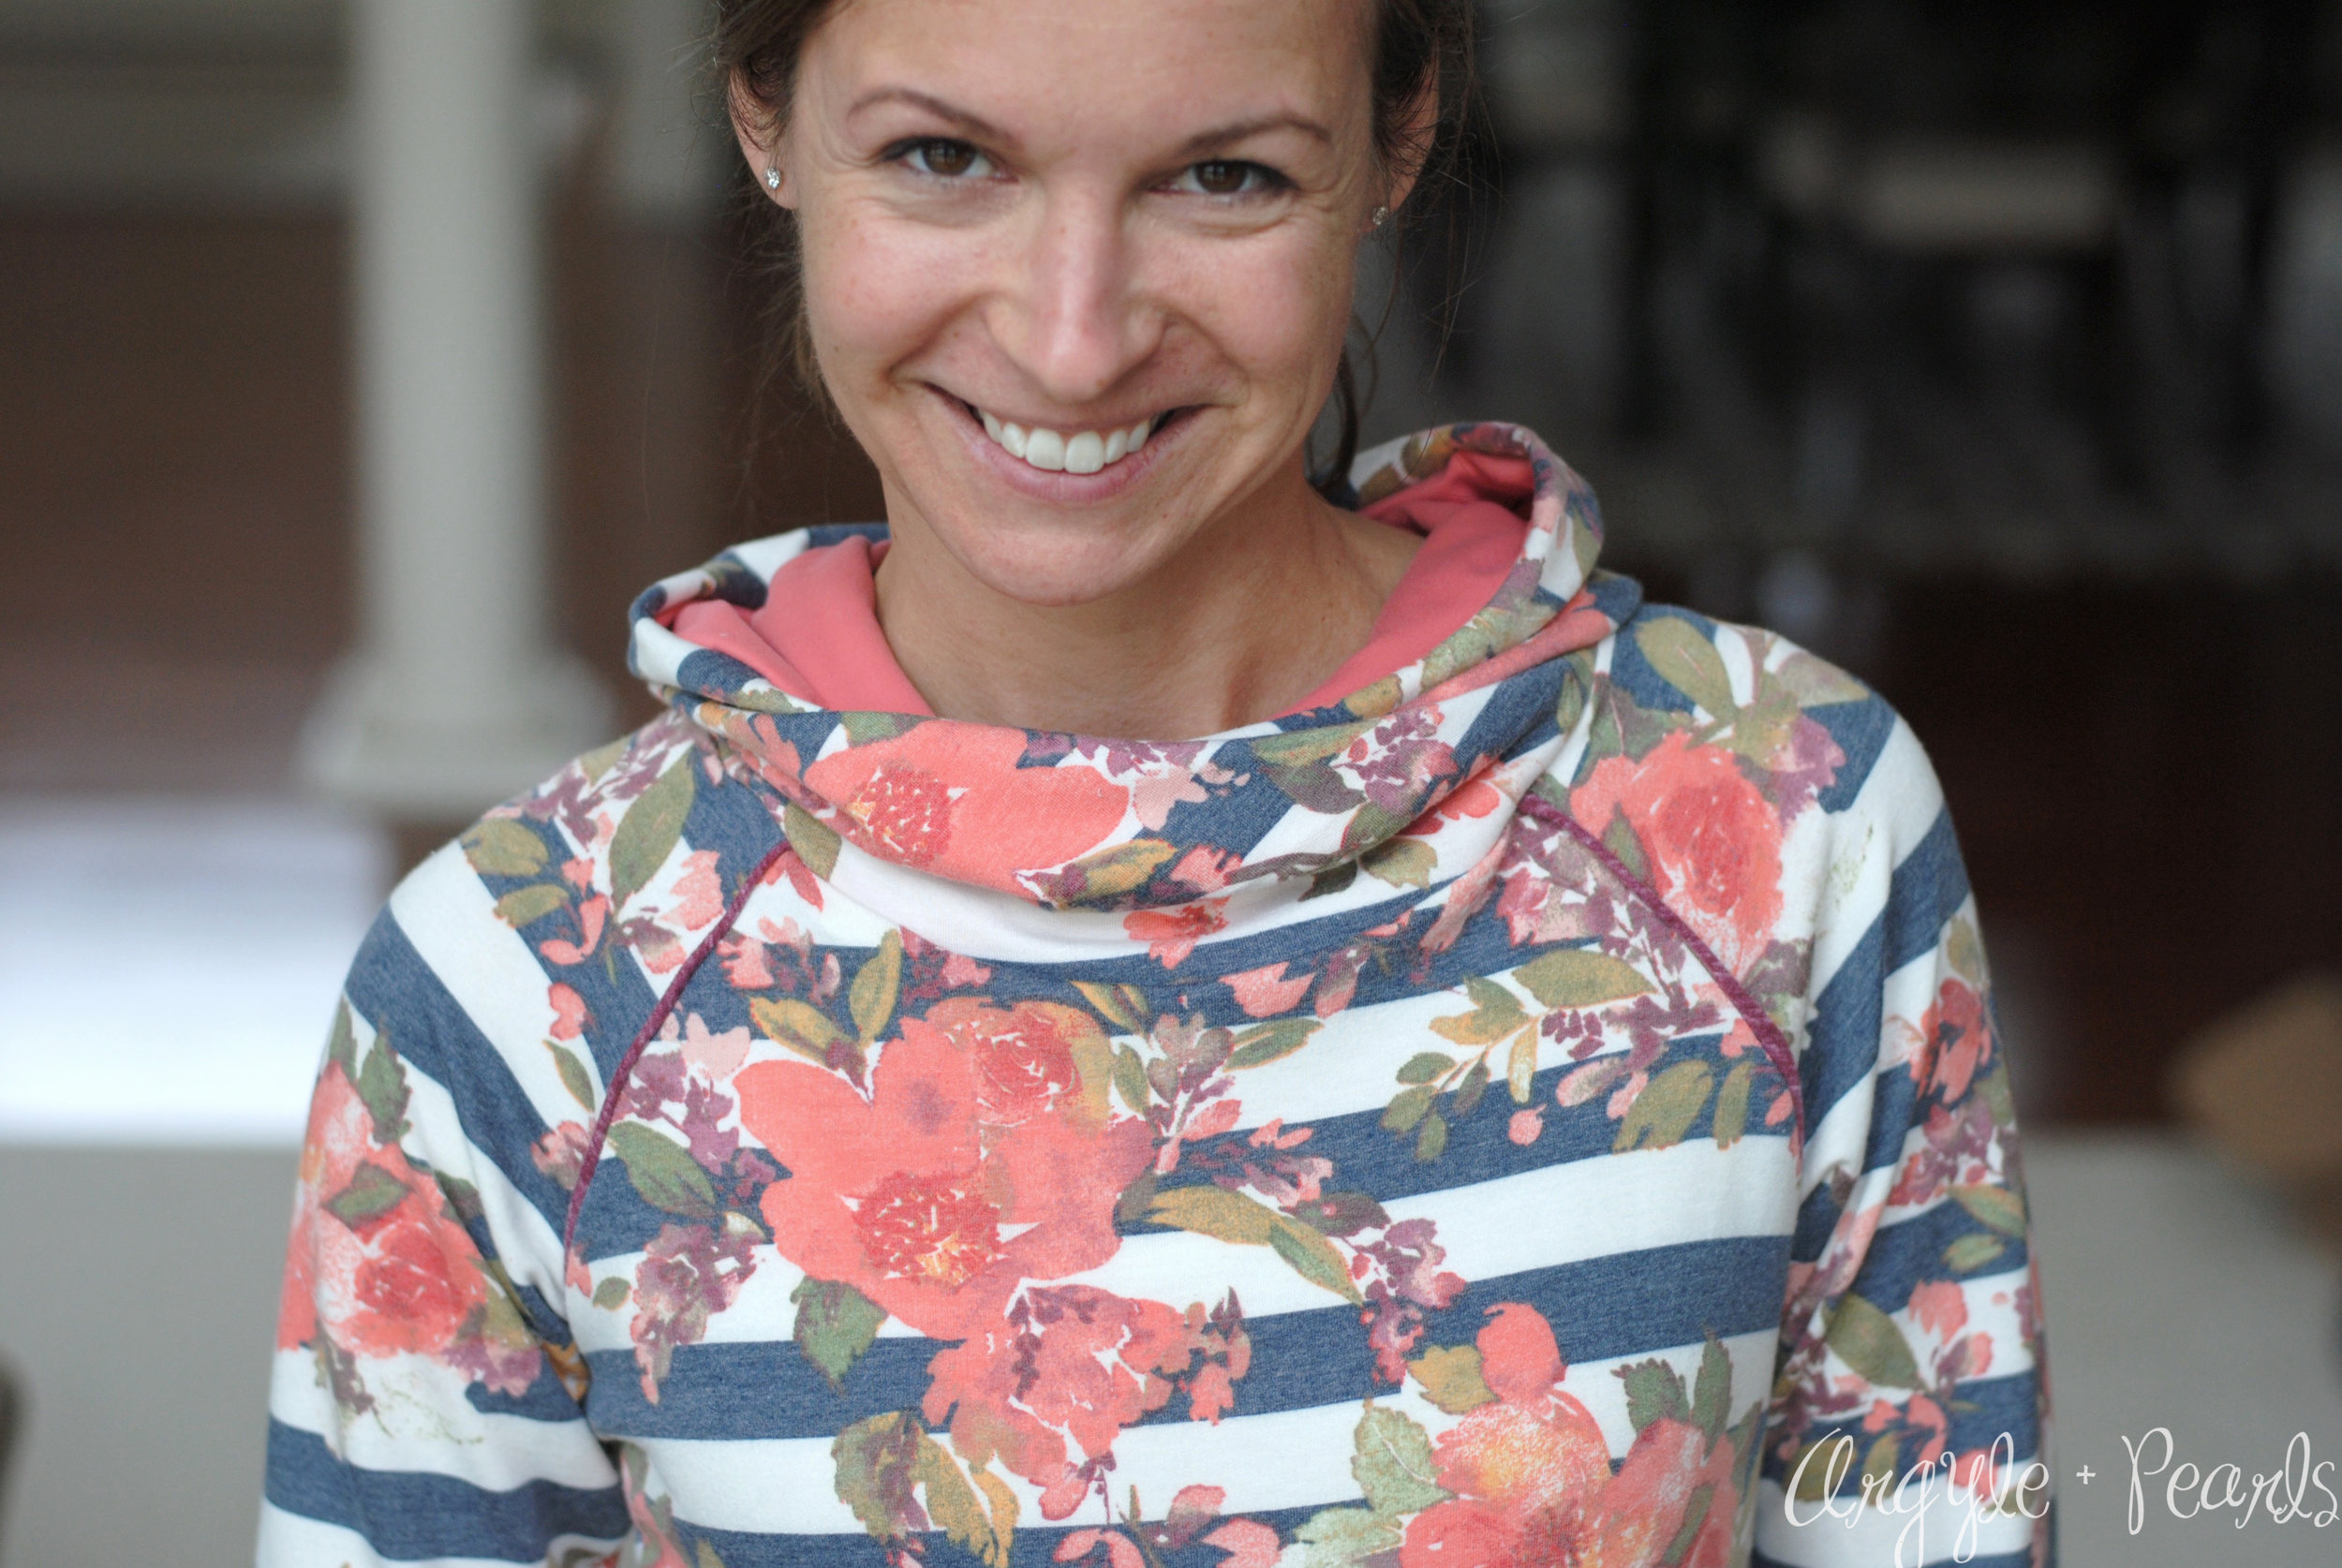
The TAMI Revolution Hoodie by New Horizons is one of my most sewn patterns. I'm such a hoodie and jeans kind of girl, and the fit is AMAZING. I didn't mind the oversized fit of the pattern when it first was released, but I have to admit that the revised pattern with a slimmer fit is absolute perfection! Since I make this pattern quite a bit, I wanted to find a way to add a little extra interest to it. I've done the lined hood many times, but this go round I finally took the time to snap some tutorial pictures of the steps necessary to line a hood! In addition, I added some faux piping along the shoulder curves, which I also snapped a few pictures of to share with you as well! Both are very simple modifications that just give a little extra something to this sweatshirt!
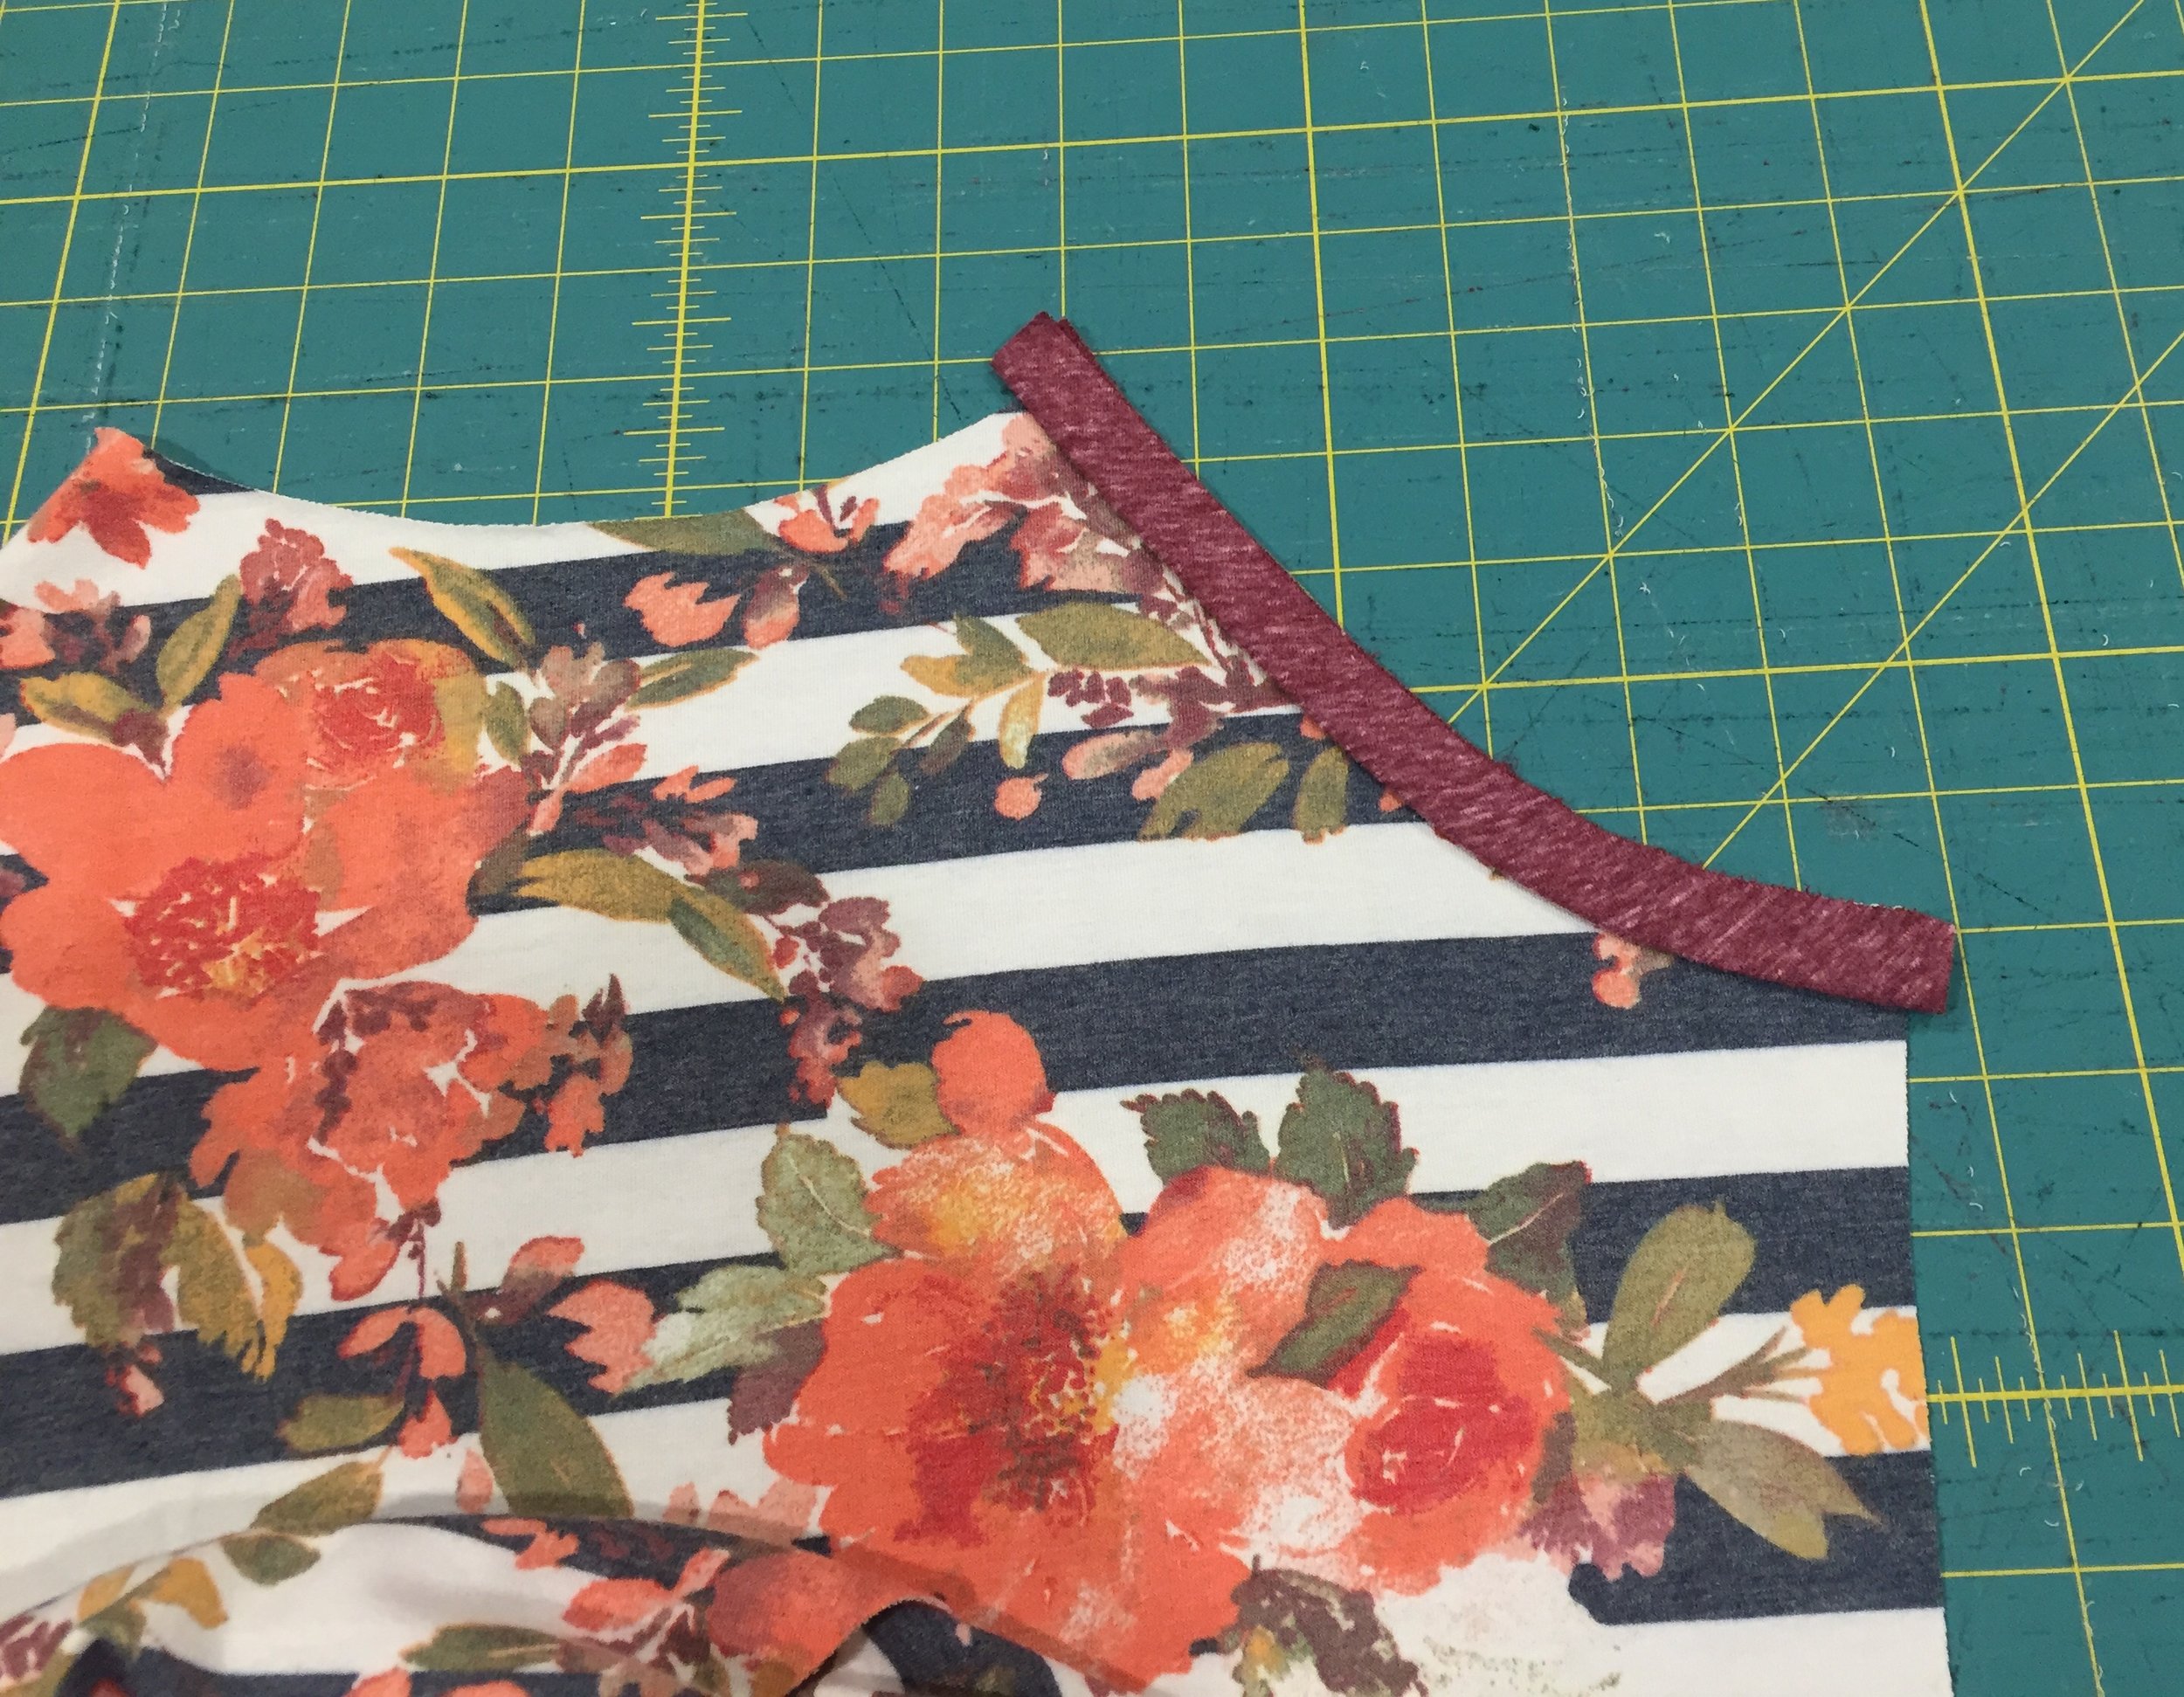
I'll share first how to add the faux piping accent for a super quick and easy way to add a fun detail. For this, I just measured along the armsyce curves of the front and back bodice. For my size XS, the back measured about 10.5" long, and the front curve measured 8.5" long. I wanted my finished "piping" to be about 1/4" thick, which meant I had to cut my strips 1.25" wide to account for the fold and seam allowance! I cut 2 strips 10.5" x 1.25" and 2 strips 8.5"x1.25". I folded them in half, wrong sides together, and pressed them well. After that, I just carefully curved them along the armsyce curve on the bodice pieces, and then finished assembling per the pattern! By sewing these strips into the armsyce seams, and using a very careful and precise seam allowance, I ended up with perfect faux piping! I purposefully cut my pieces on the bias as well, to help ease them into the curves of the armsyce when assembling, but that isn't completely necessary.

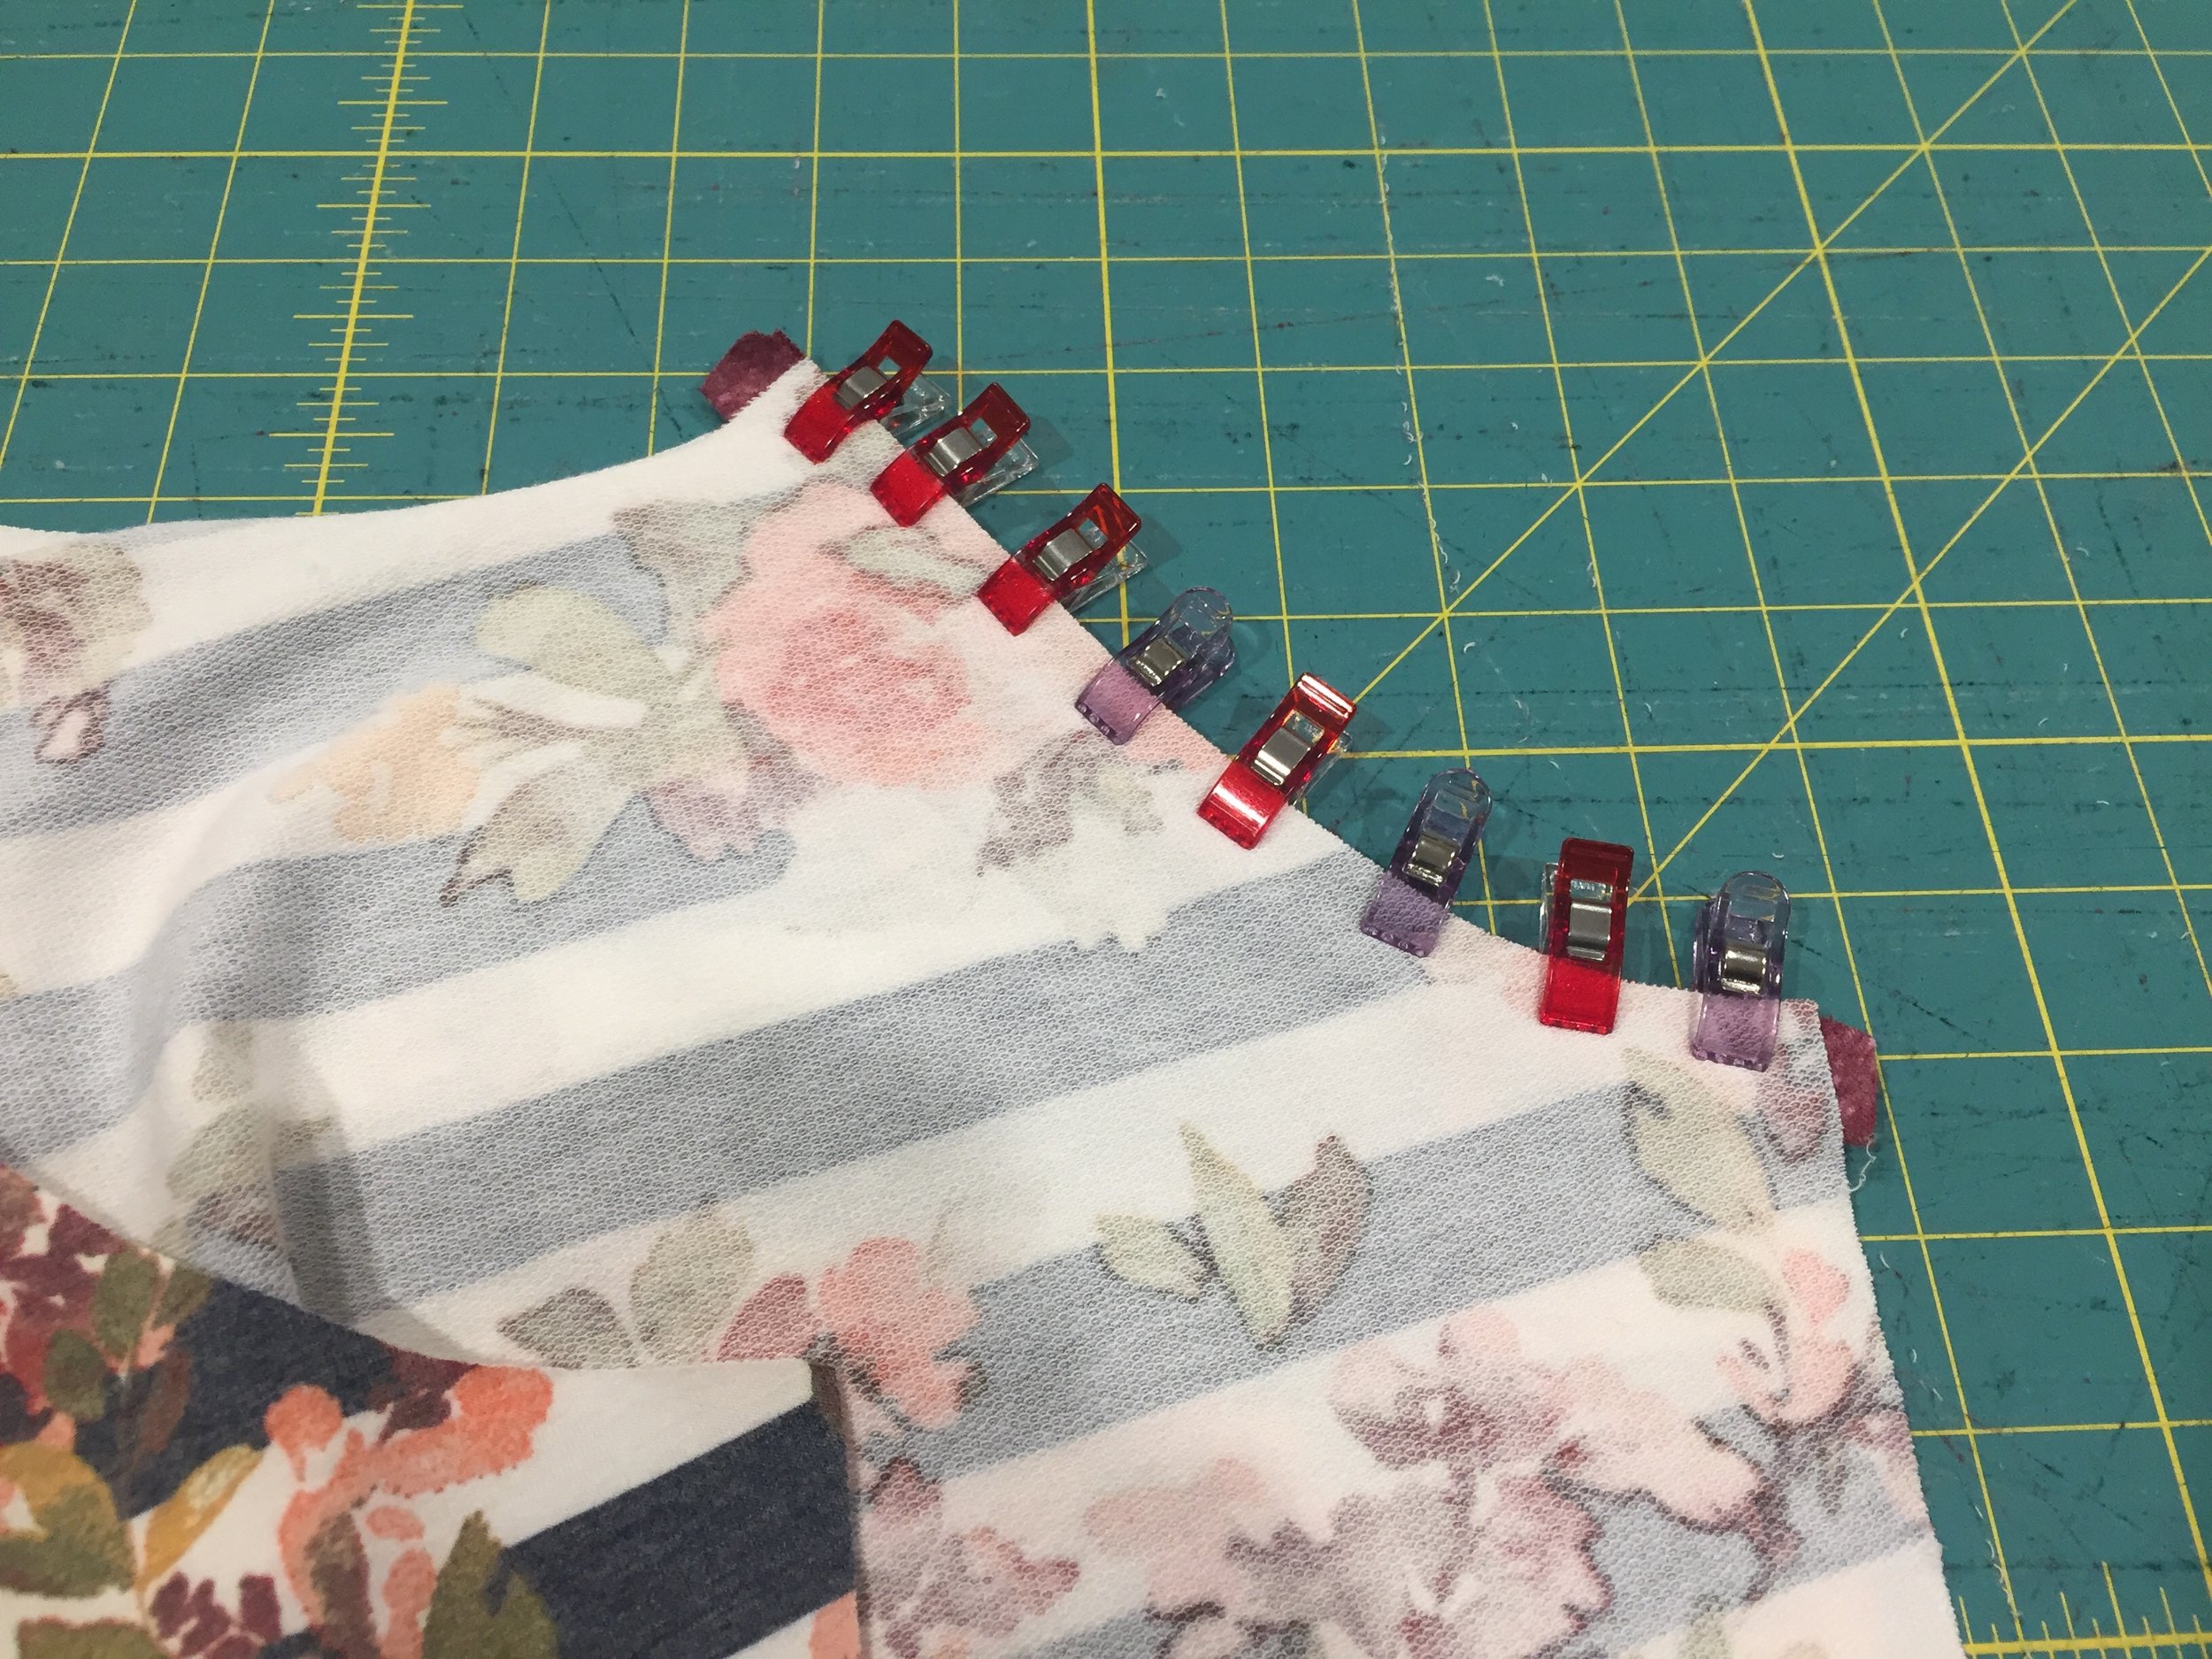
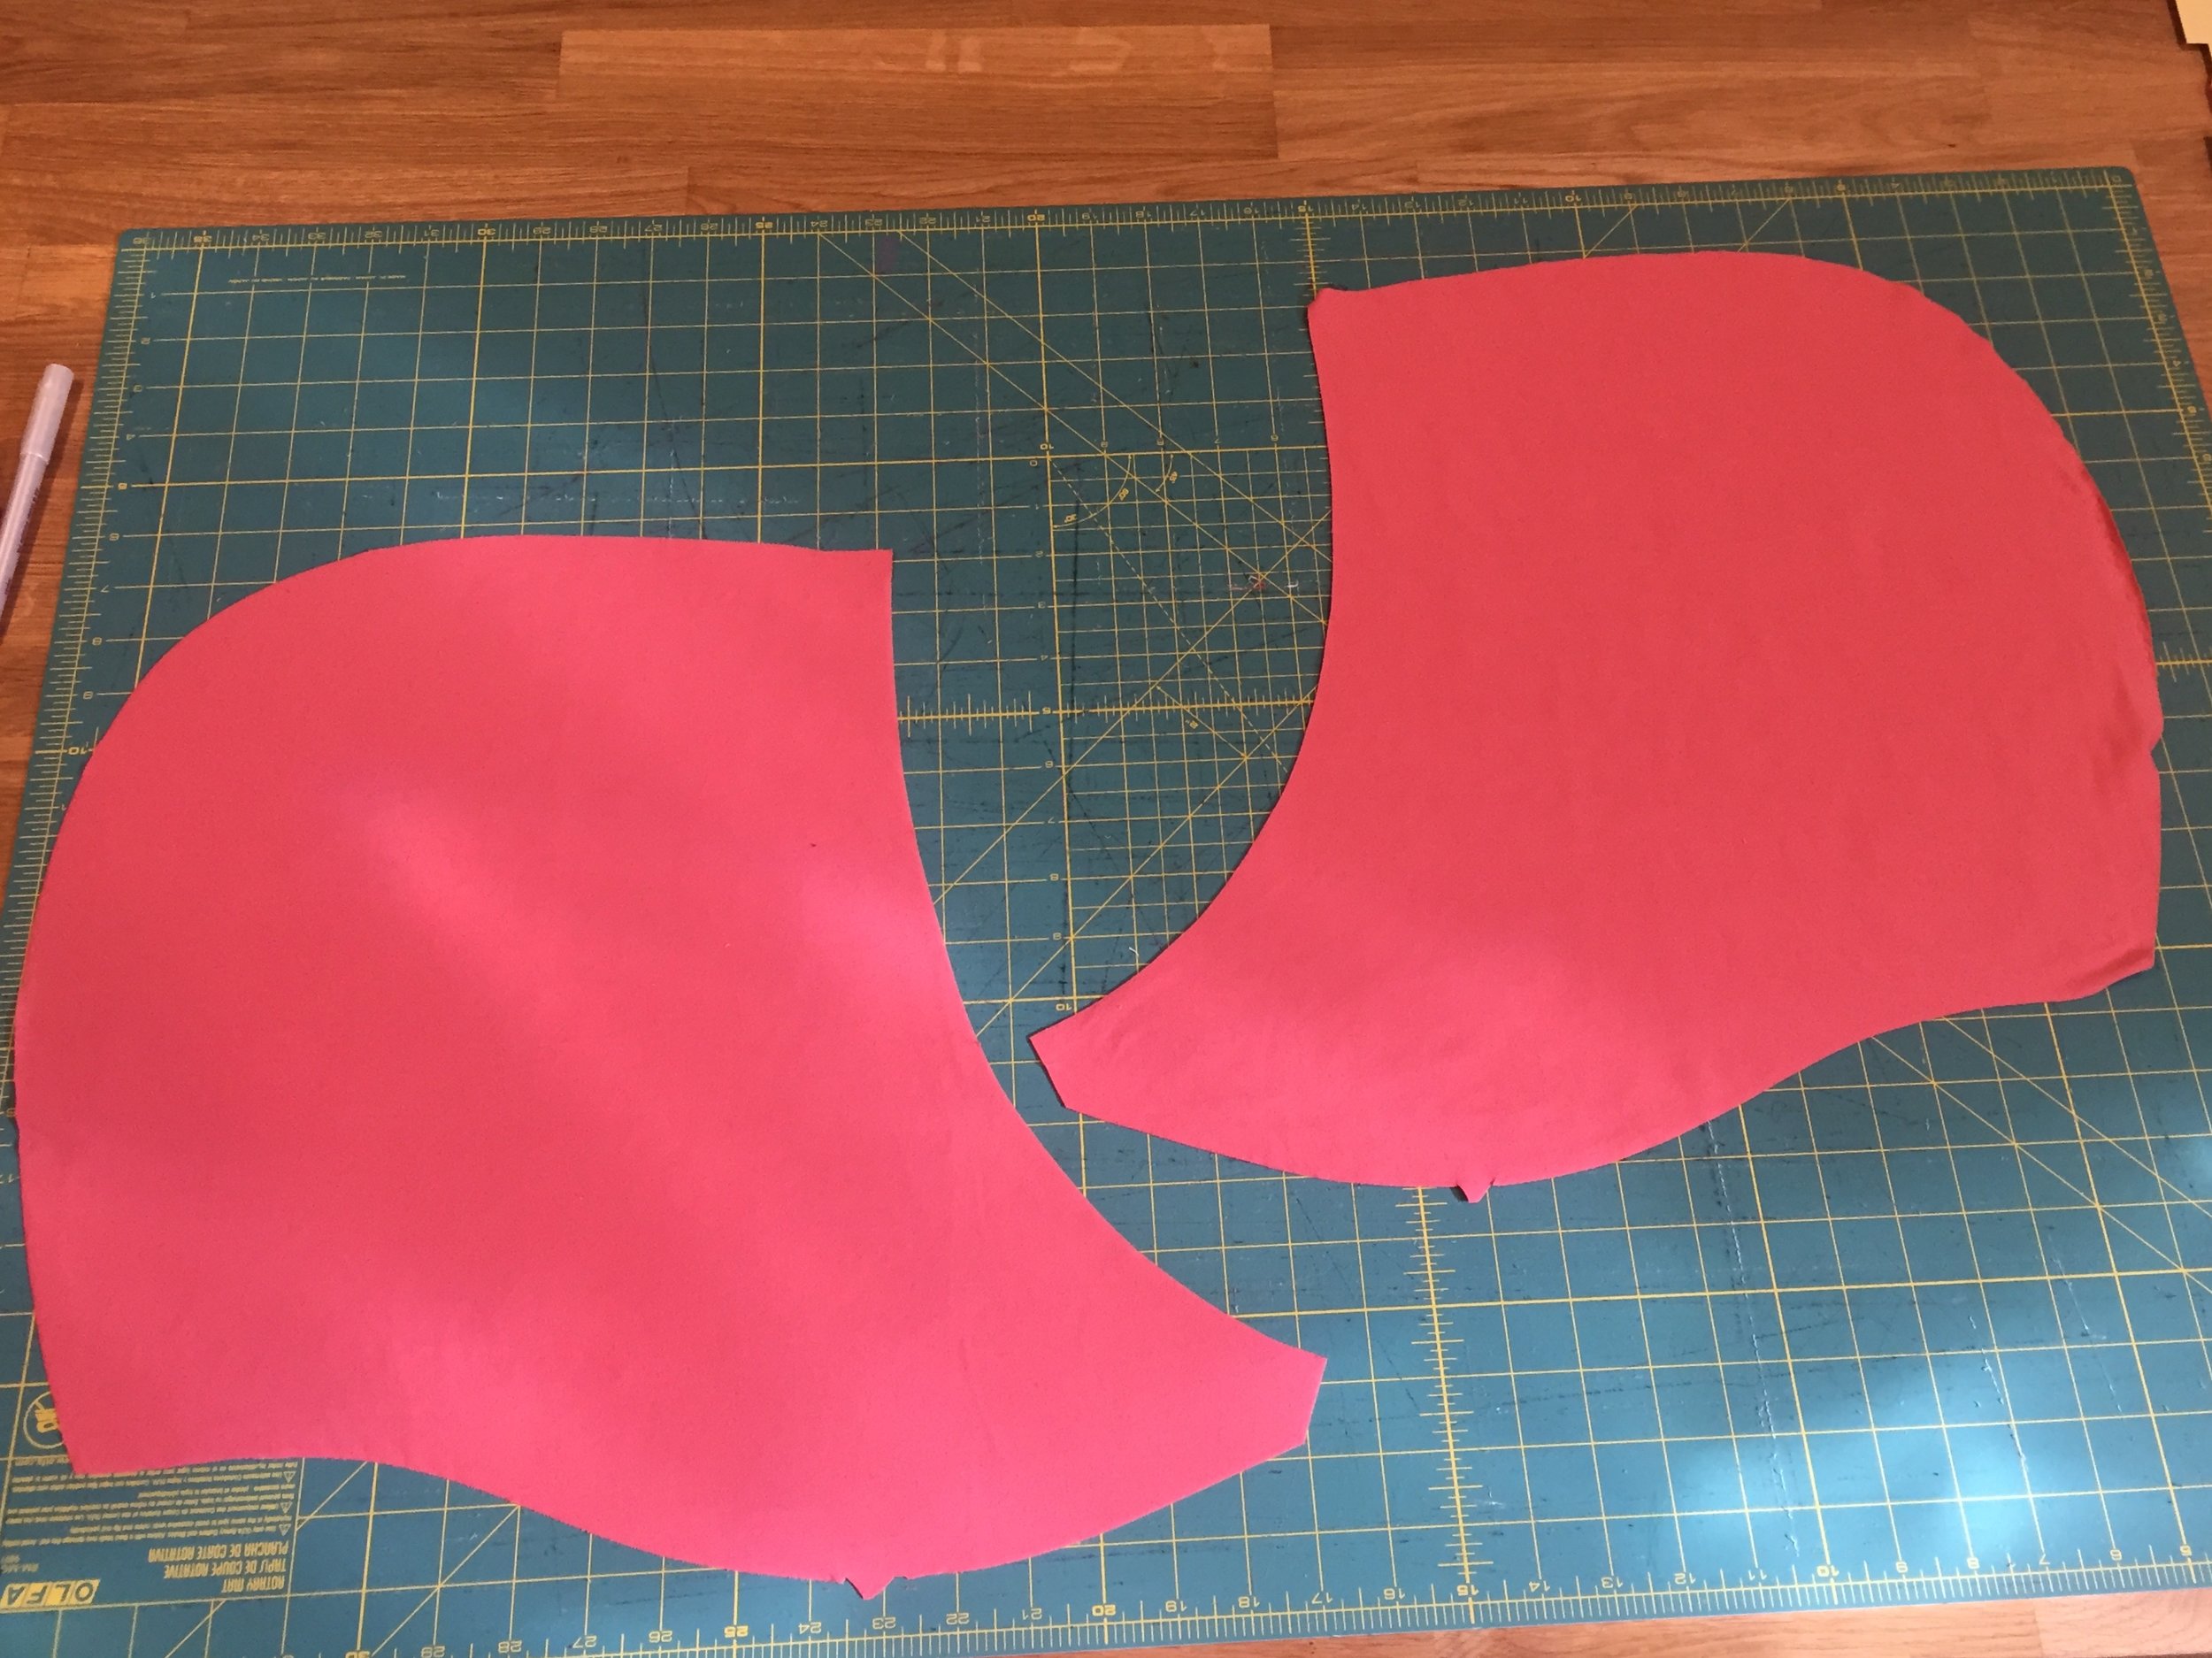
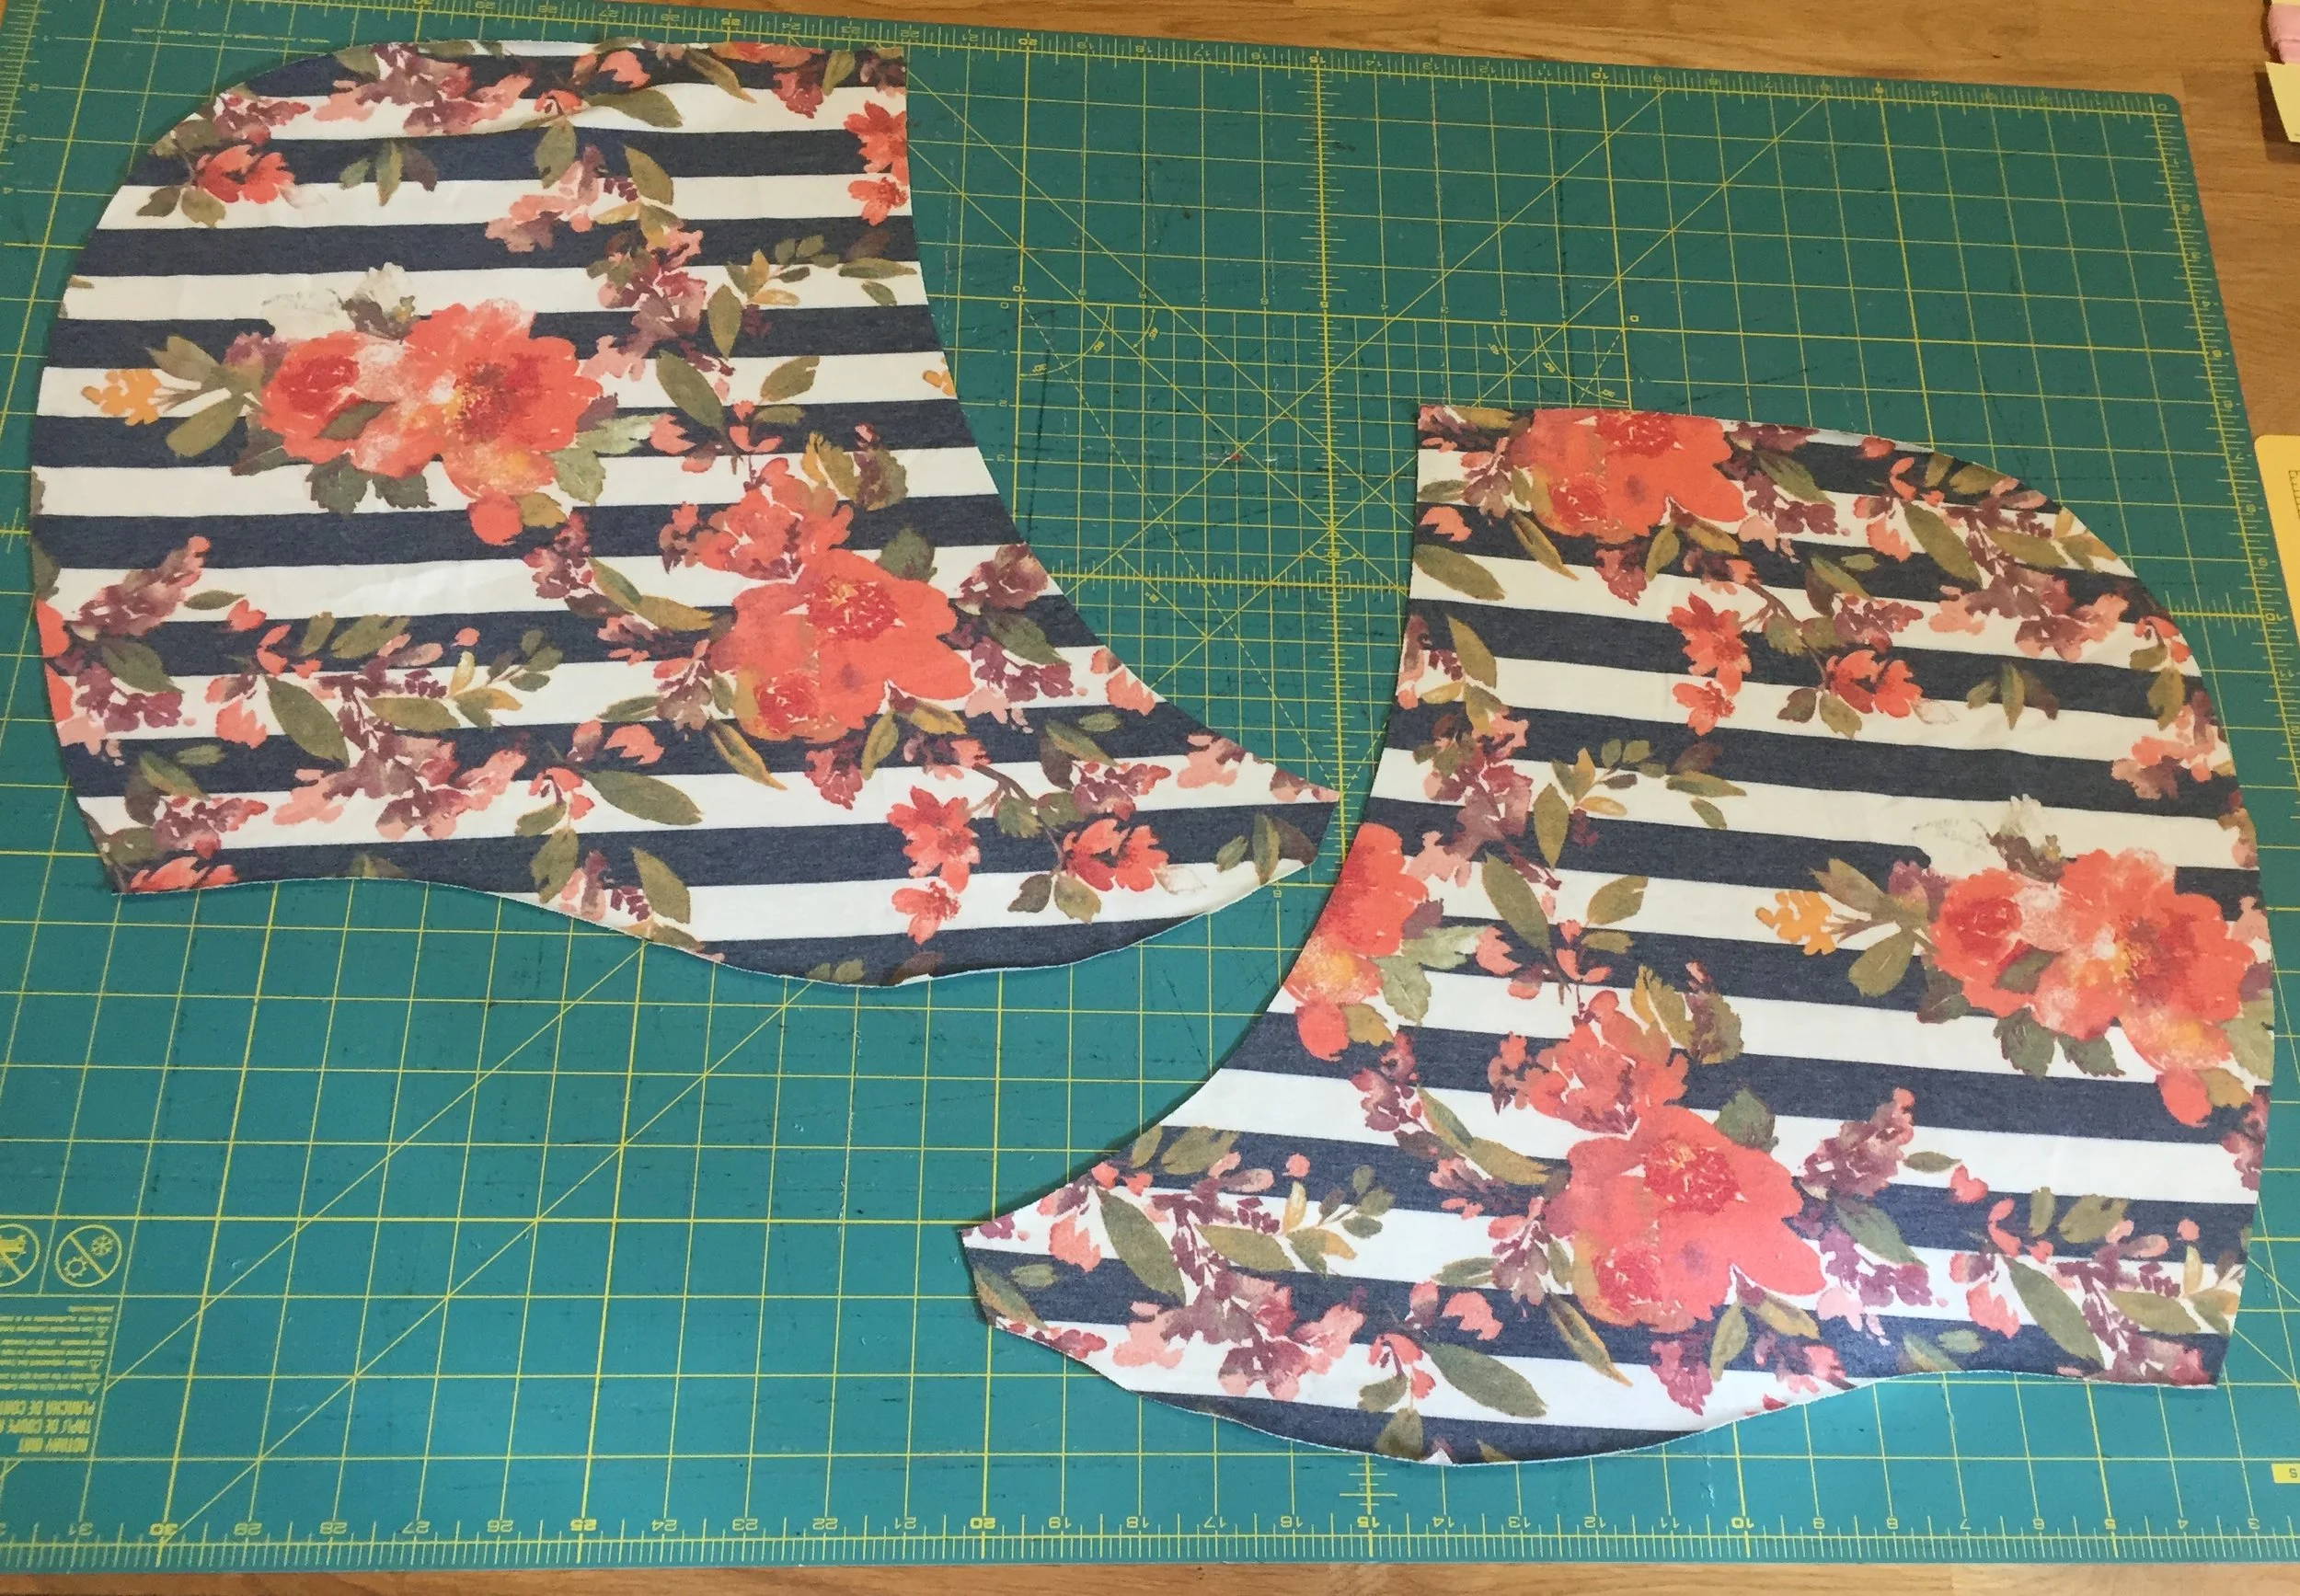
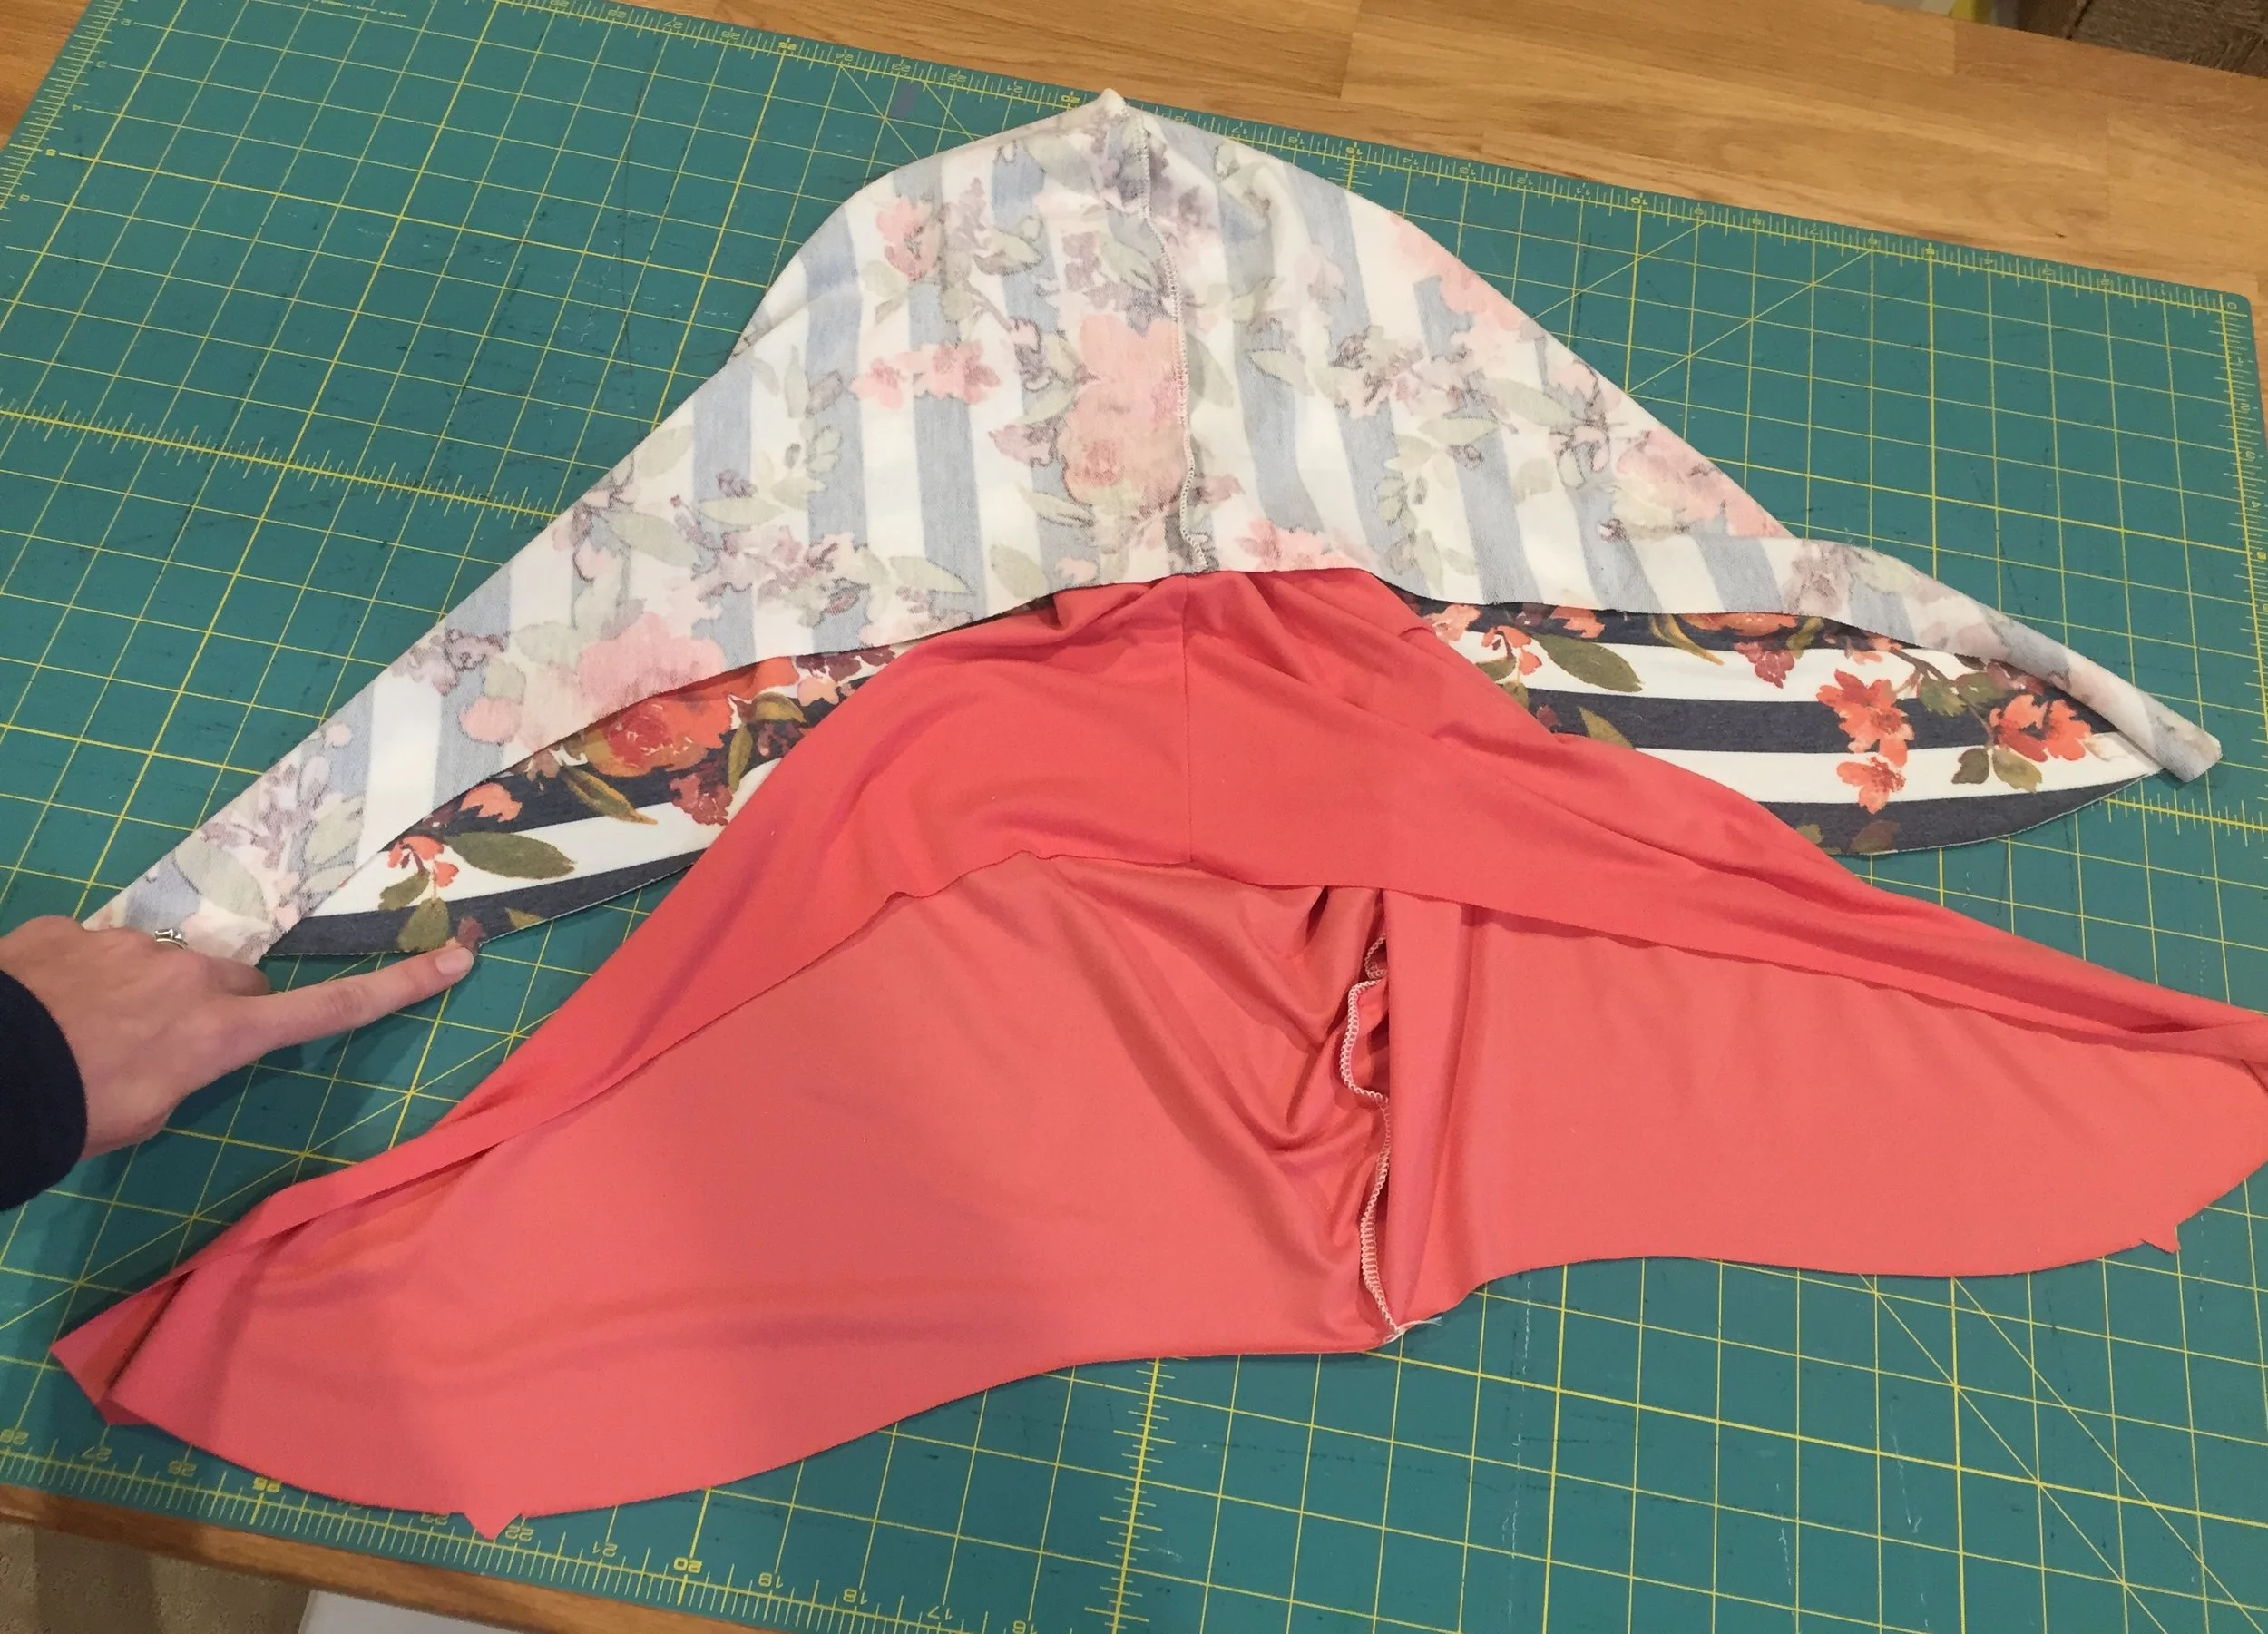
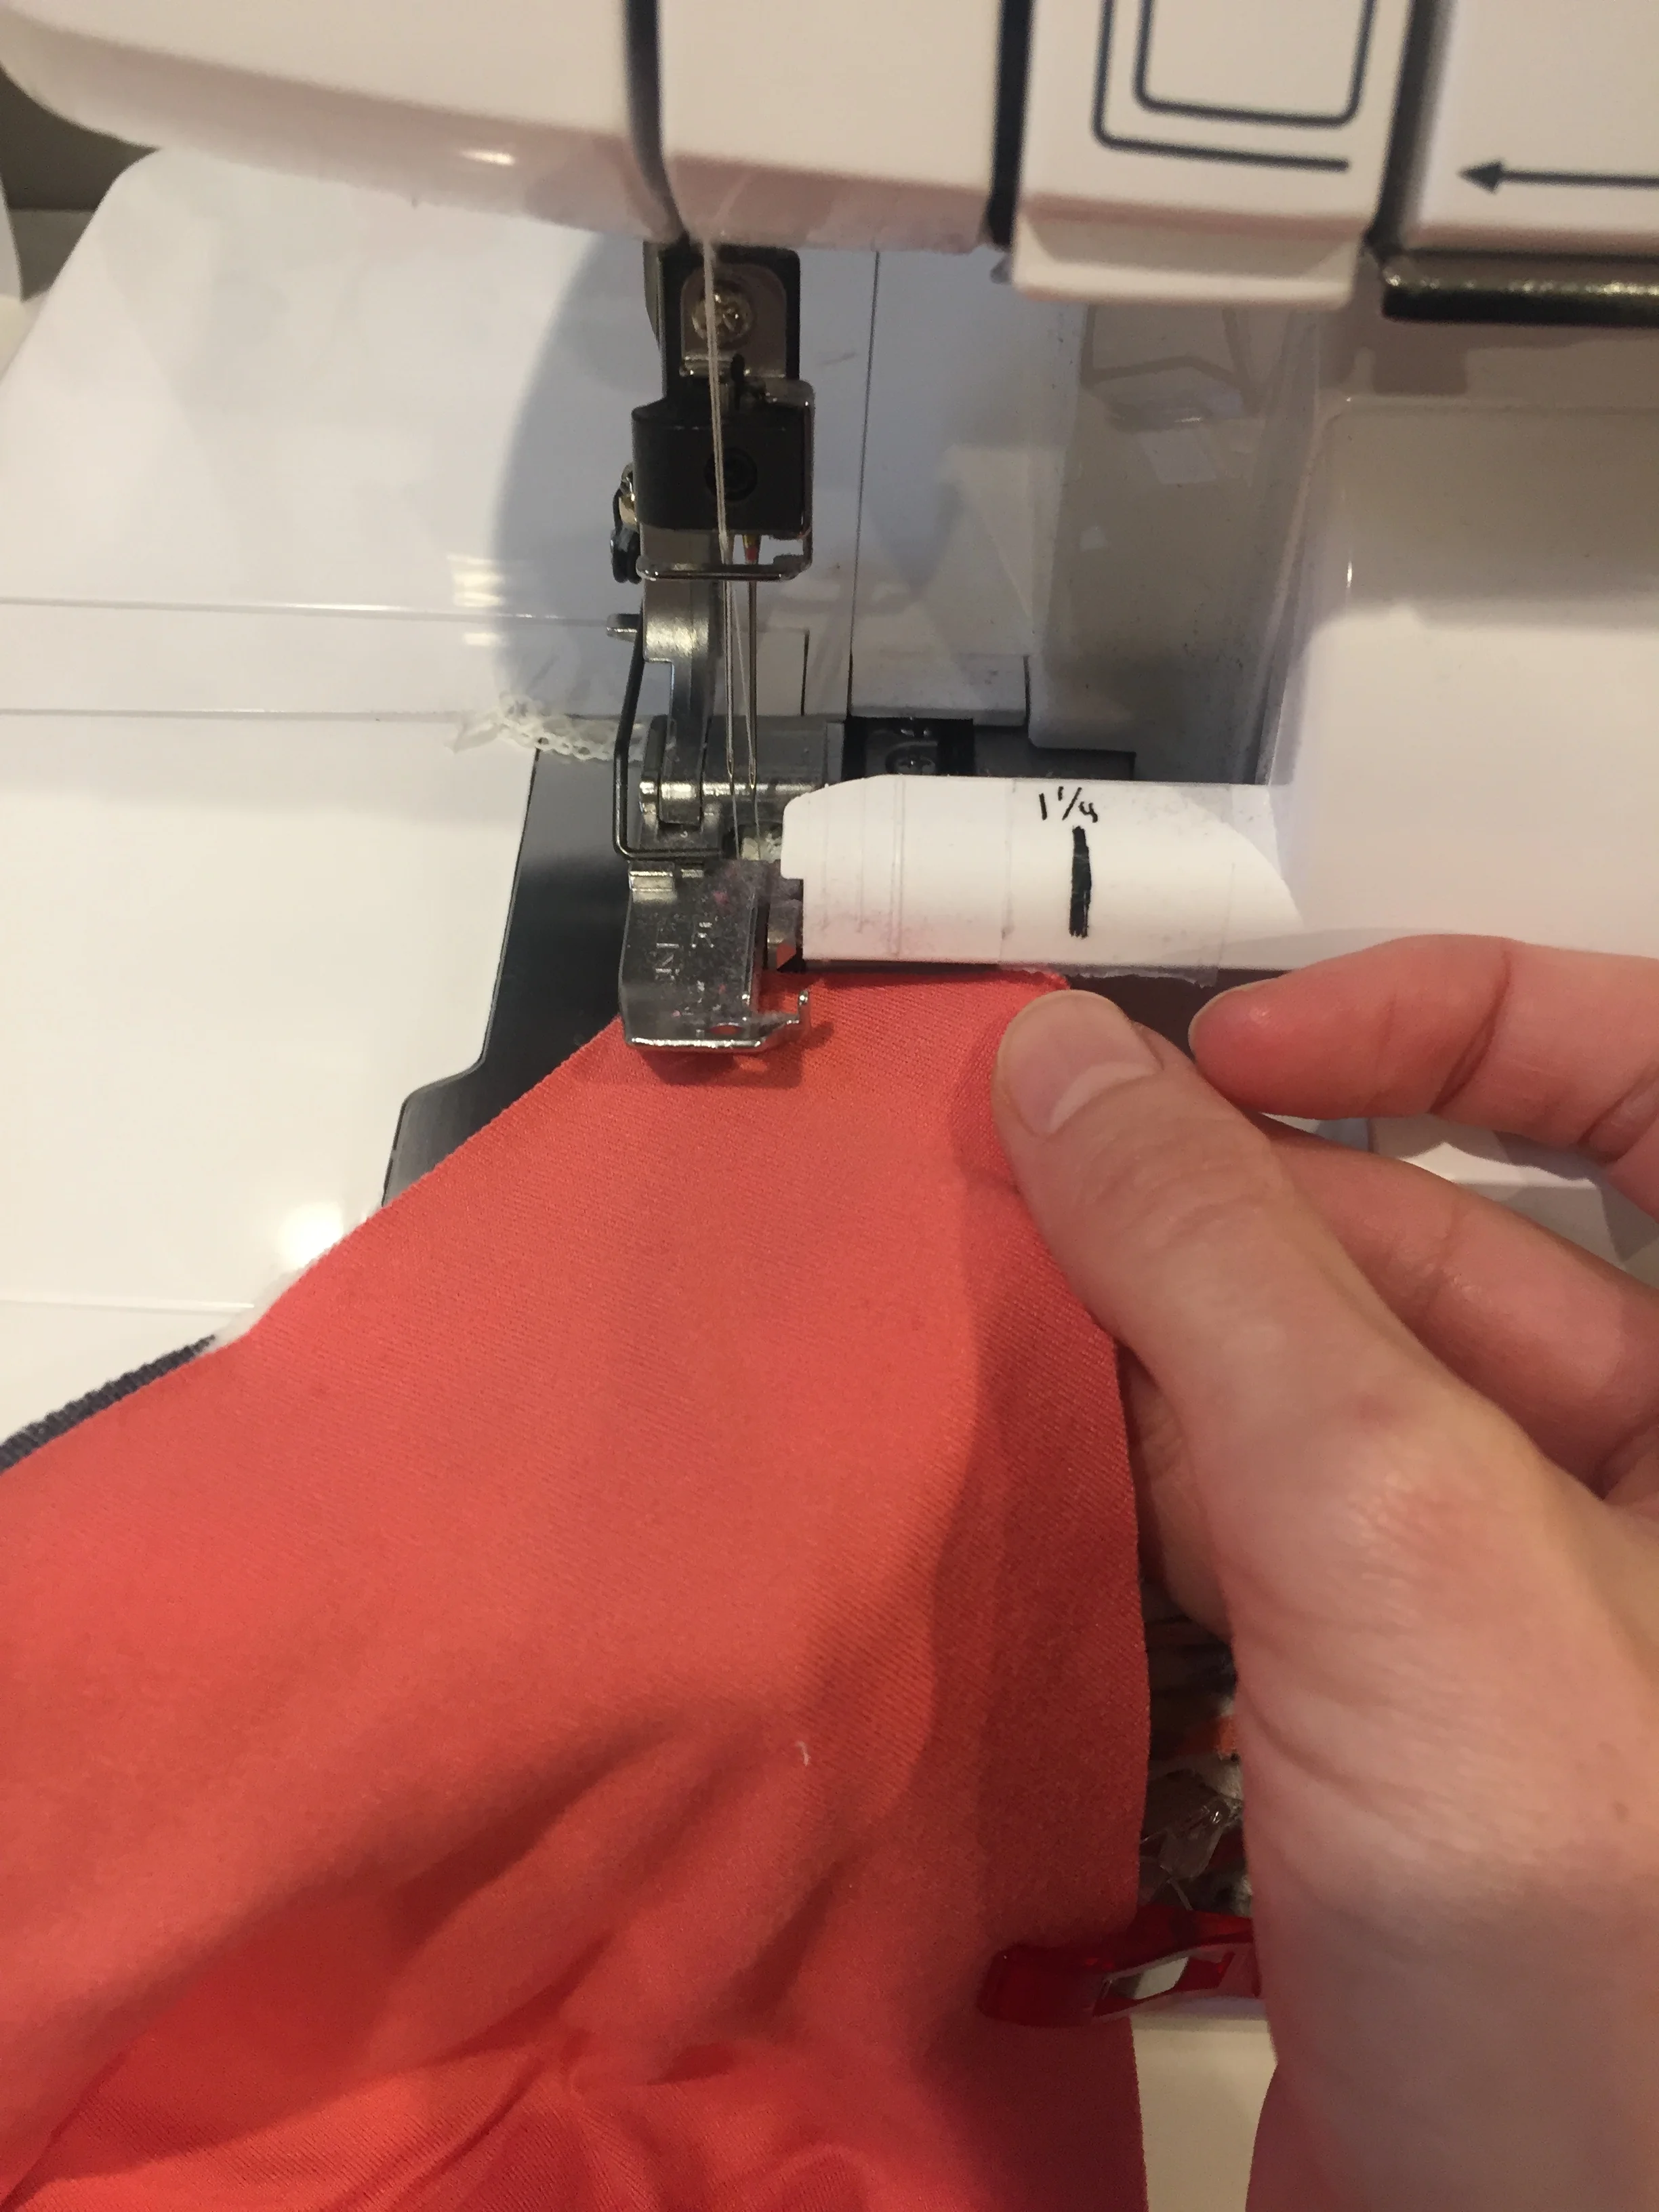
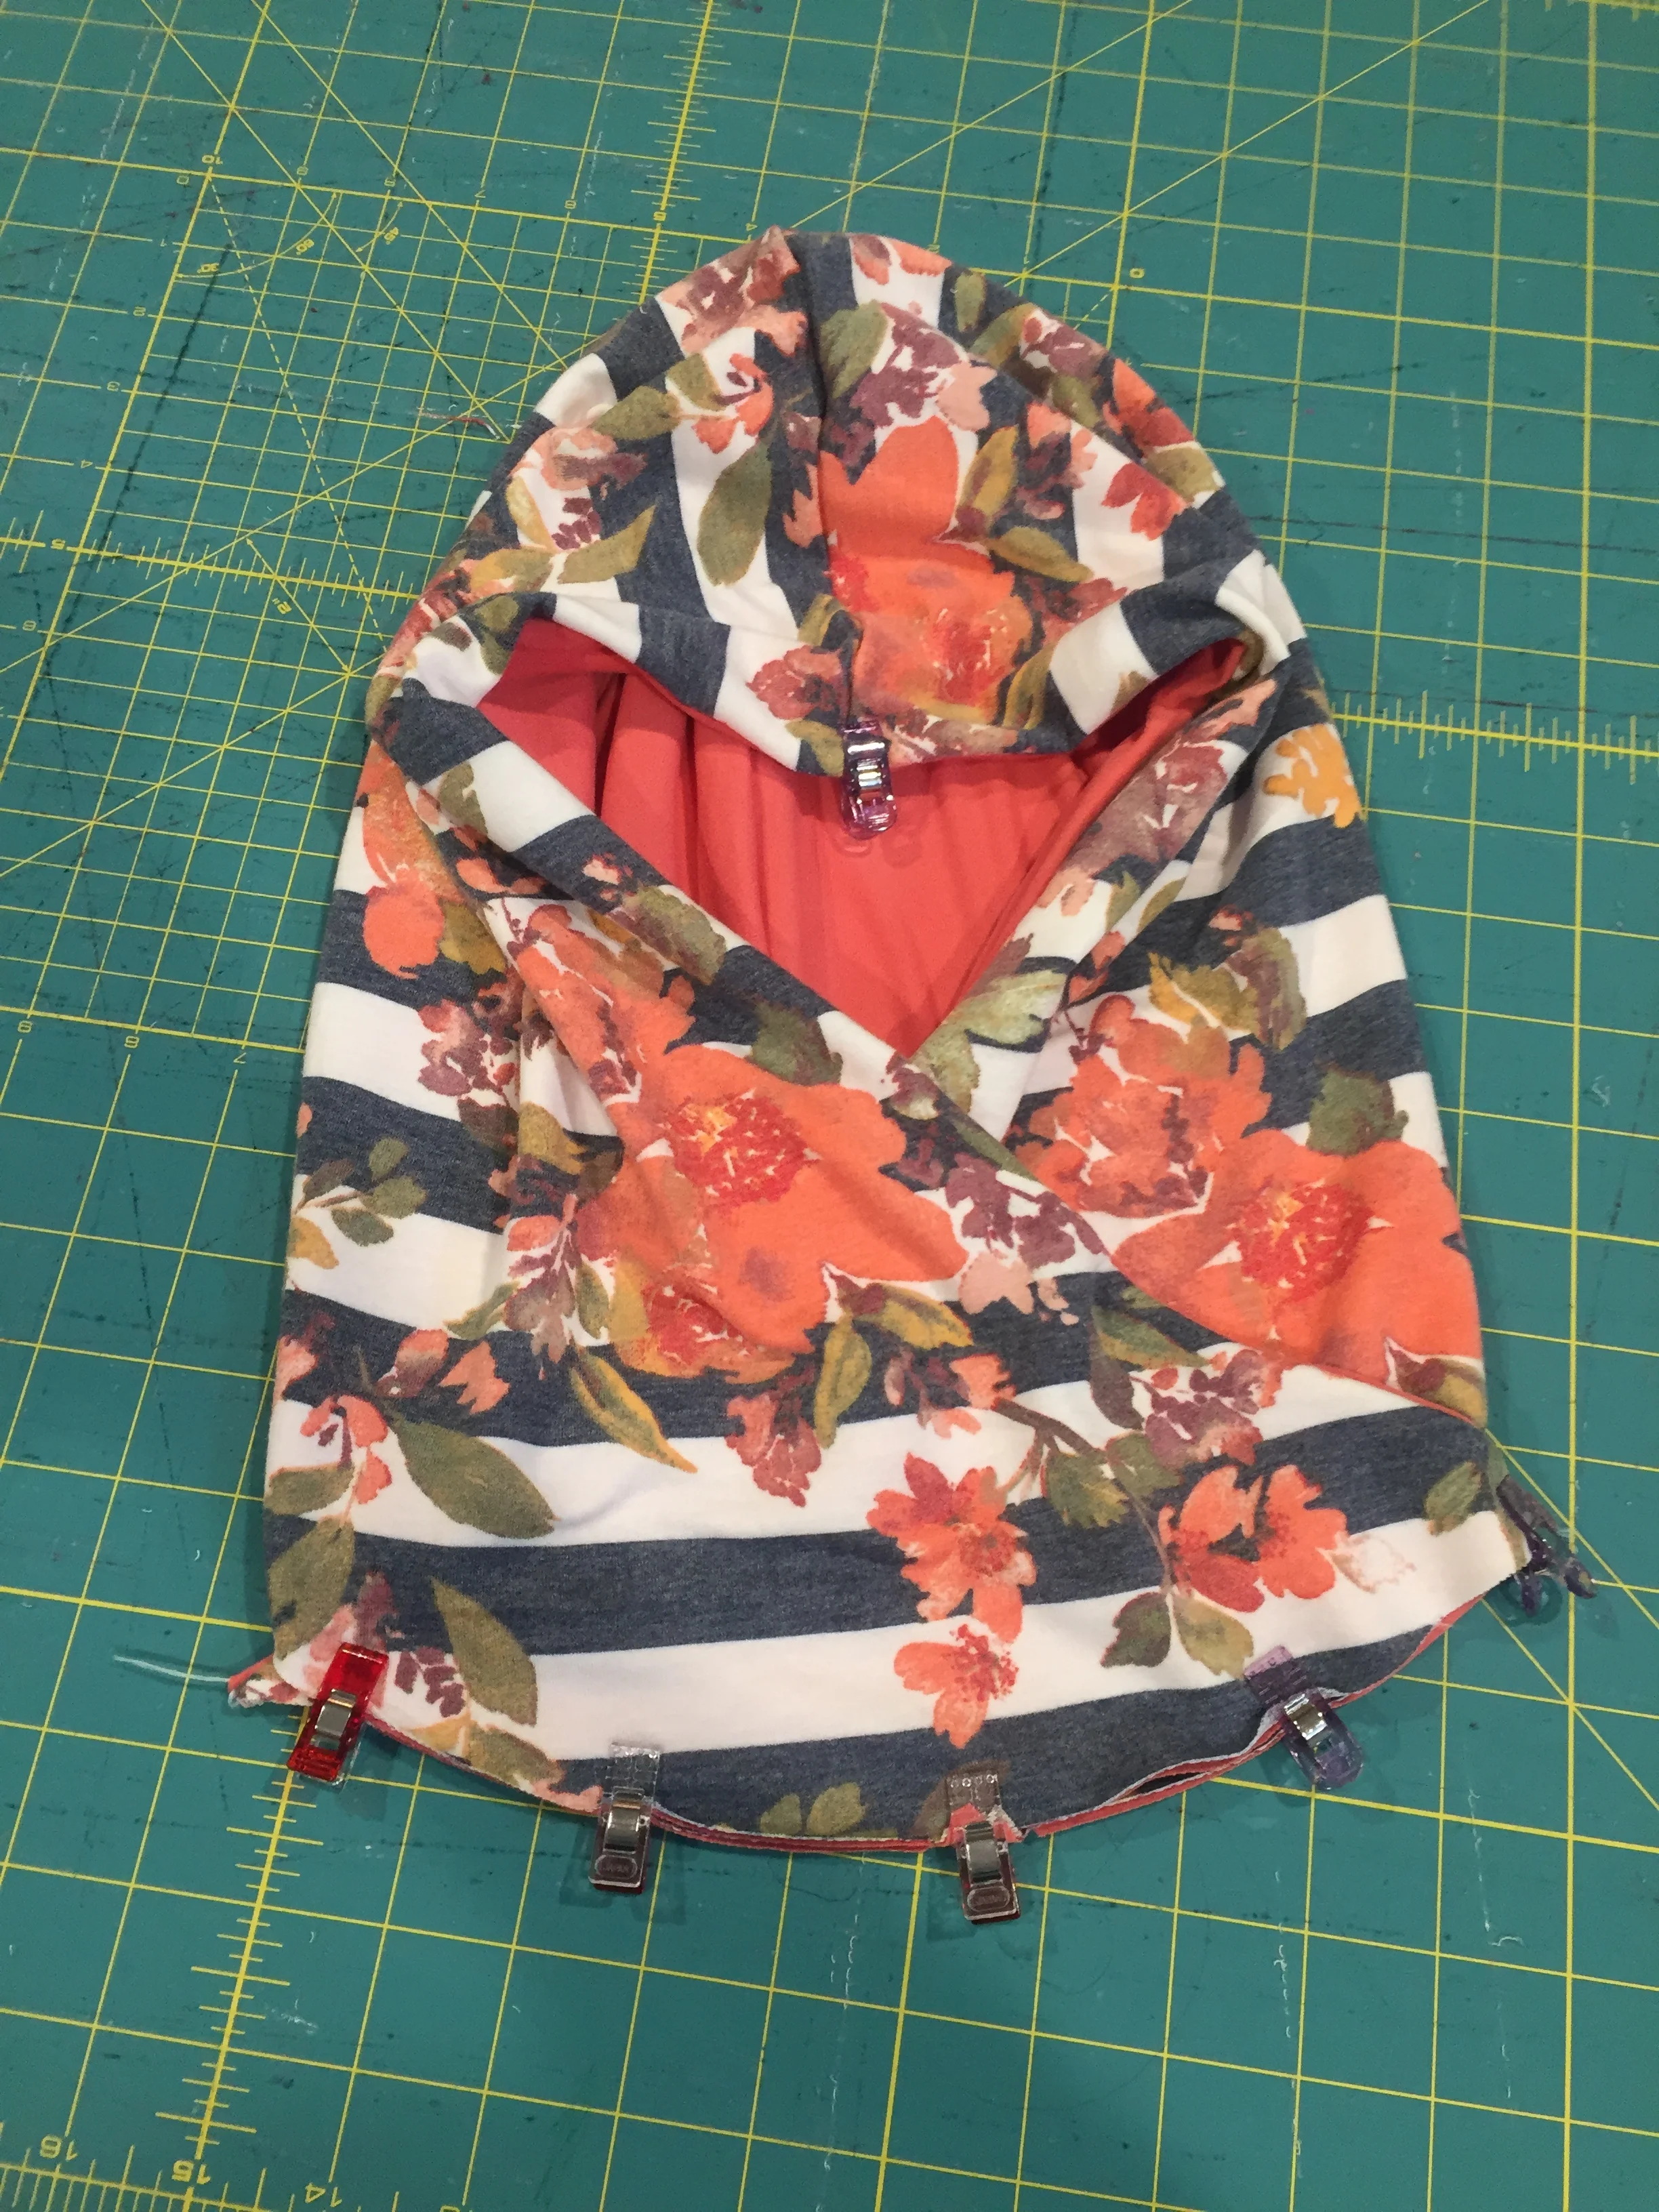
Next will be how to line the hood. I have specifically shown how to line the crossover hood of this pattern, but the same steps would be used to line either the side opening hood and the standard hood, FYI! First, you will cut 2 mirror images of your main fabric (floral) and your lining fabric (coral). You will sew the main pieces together along the back curve right sides together, and the lining pieces right sides together. You will then turn the hood lining right side out, and place it into the main hood, putting right sides together and aligning along the front curve. Clip together all along the front curve of the hood. (Side Note: It is important to cut your notches to help identify the different sides of the hood... the notches go along the bottom of the hood, where it attaches to the shirt. You do not want to sew your hood together here, you will want to make sure you sew it along the opening for your face, where there are no notches!) You will then sew your hood main and lining together using a 1 1/4" seam allowance. I know that sounds scary, and huge, but that is because you are not folding over and creating a casing like you normally would on an unlined hood. I have marked a 1 1/4" seam allowance on my serger for this purpose! After you have sewn it together, flip it right sides out and press. You can topstitch along the edge you just sewed, but I do not. Now, you will just treat your lined hood as one hood and attach per the pattern!


All of this gorgeous fabric is from So Sew English Fabrics. The floral is a Poly Rayon Spandex French Terry, the coral is a Double Brushed Polyester, and the faux piping is a tri-blend French Terry!
Please note that this post contains links. Some of these may be "affiliate links" which means that if you decide to make a purchase I get paid a tiny portion of whatever is purchased, but at no additional cost to you. Affiliate payments go directly to my fabric fund to continue the cycle of sewing up or testing more patterns so I can share the love with you!